If you’ve ever tried making sushi at home and wondered why it didn’t taste like the restaurant version, let me tell you—it all comes down to the sushi rice.
I learned this the hard way when I first tried rolling sushi at home. The fish, the seaweed, even the filling was fine, but the rice was just… plain. That’s when I discovered the magic behind perfectly seasoned sushi rice.
And trust me, once you nail this, your homemade sushi will taste like it came from a 5-star sushi bar.
Why Sushi Rice is the Heart of Sushi
Think of sushi rice as the stage, and the fish and fillings as the performers. Without a good stage, the whole show collapses. Sushi rice isn’t just cooked white rice—it’s short-grain rice seasoned with vinegar, sugar, and salt. This mix gives it that slightly sticky, tangy, and sweet taste that balances perfectly with fresh fish or veggies.
Here’s a quick fact: In Japan, the word “sushi” actually refers to the seasoned rice, not the raw fish. That alone should tell you how important it is.
The Ingredients You’ll Need
Don’t worry—nothing fancy here. You just need a few simple things:
- 2 cups sushi rice (short-grain rice is a must, don’t swap it with basmati or jasmine)
- 2 ½ cups water
- ⅓ cup rice vinegar
- 3 tablespoons sugar
- 1 ½ teaspoons salt
That’s it. Just a handful of ingredients, but they work magic together.
Choosing the Right Rice
Not all rice is created equal. You need short-grain Japanese rice because it’s naturally sticky. Long-grain rice like basmati or jasmine will never give you the texture sushi needs—it’ll just fall apart.
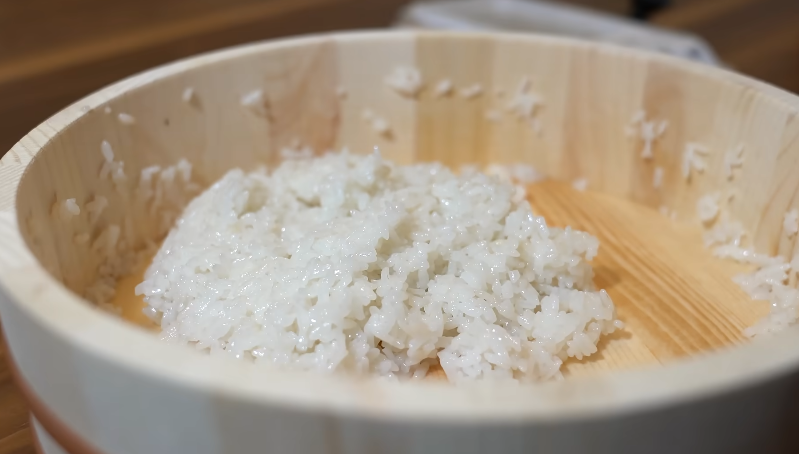
If you’re at the store, look for labels like “sushi rice” or “Calrose rice.” My personal favorite is Koshihikari rice because it cooks up shiny and perfect every time.
How to Cook Sushi Rice the Easy Way
I know people get nervous about cooking rice, but here’s the truth: if you can boil water, you can make sushi rice.
Step 1: Wash the Rice
This is crucial. Put your rice in a bowl, cover it with water, and gently swish it around. The water will turn cloudy. Drain it and repeat this about 3–4 times until the water is almost clear. This removes excess starch so your rice doesn’t become mushy.
Step 2: Cook the Rice
You can cook it in a rice cooker (the easiest way) or on the stovetop.
- Rice cooker method: Just add rice and water, hit the cook button, and walk away.
- Stovetop method: Add rice and water to a pot, bring it to a boil, then cover and simmer on low for 15 minutes. Turn off the heat and let it steam (covered) for another 10 minutes.
Step 3: Make the Seasoning
While the rice cooks, heat the vinegar, sugar, and salt in a small saucepan until dissolved. Don’t boil it—just warm it enough to mix.
Step 4: Season the Rice
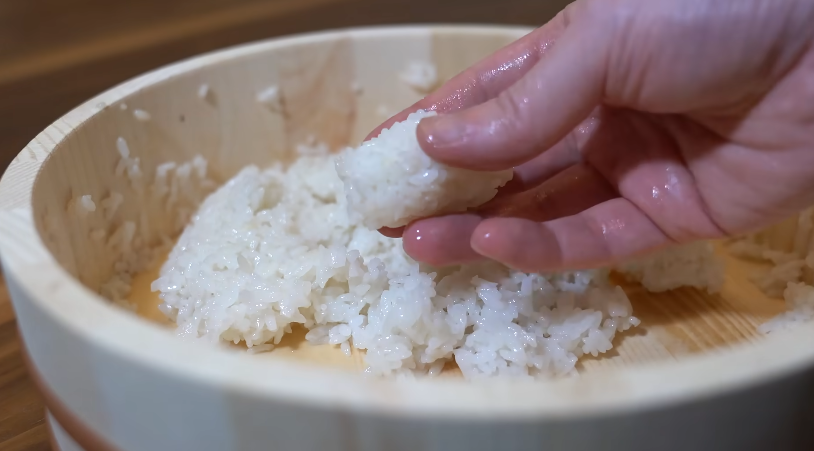
Transfer the cooked rice to a large bowl (a wooden bowl if you want to be traditional). Slowly pour the vinegar mix over the rice while gently folding it with a wooden spatula. Don’t stir like crazy or you’ll mash the grains. Use a slicing-and-folding motion.
Step 5: Cool the Rice
Fan the rice as you mix to cool it quickly. This keeps it shiny and prevents it from getting soggy. The rice should be warm—not hot, not cold—when you use it for sushi.
Common Mistakes People Make
I’ve made almost all of these mistakes at some point. Learn from me so you don’t repeat them.
- Using the wrong rice – long-grain rice just won’t work.
- Skipping the rinse – unwashed rice turns gluey.
- Overmixing the vinegar – it breaks the grains.
- Using too much vinegar – balance is key, or the rice will taste sour.
- Not cooling it properly – sushi rice should never be hot when you roll sushi.
How to Store Sushi Rice
Sushi rice is best eaten fresh, but if you must store it, keep it covered with a damp towel at room temperature for a few hours. Don’t refrigerate it—it gets hard and loses its texture.
If you have leftover plain rice (before seasoning), you can refrigerate it and reheat it later, but seasoned sushi rice is always best made fresh.
Why You’ll Love This Recipe
Once you master sushi rice, the possibilities are endless. You can make:
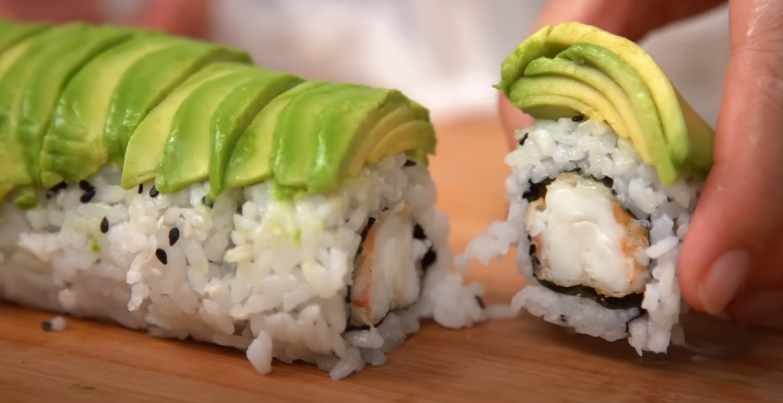
- Sushi rolls (maki)
- Nigiri (hand-pressed sushi)
- Sushi bowls (chirashi)
- Even poke bowls
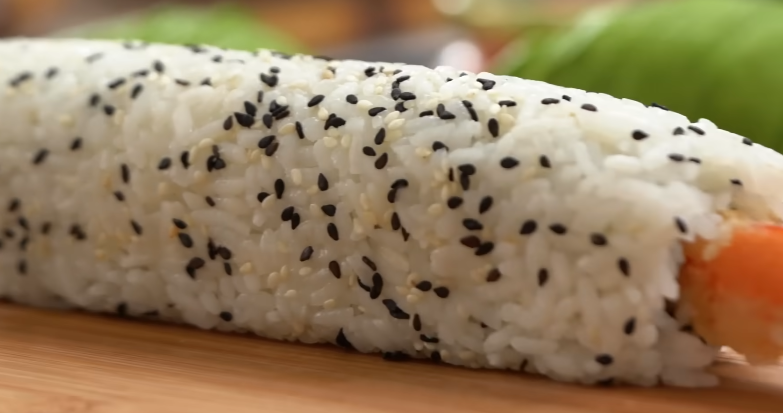
And honestly, sushi rice is so good you might find yourself eating it on its own with just a sprinkle of sesame seeds. I know I have.
Personal Tip from My Kitchen
The first time I nailed sushi rice, I couldn’t stop making sushi rolls for days. My family was thrilled at first, but by the fourth night of sushi dinners, they gently suggested I make something else. That’s the kind of excitement this recipe can bring—it’s addictive.
FAQs about Sushi Rice Recipe
Q: Can I use apple cider vinegar instead of rice vinegar?
A: Not really. Rice vinegar has a delicate flavor that other vinegars can’t match. Stick with rice vinegar if you want authentic taste.
Q: Can I make sushi rice in an Instant Pot?
A: Yes! Use the same water-to-rice ratio and cook on high pressure for 5 minutes, then let it naturally release for 10 minutes.
Q: How sticky should sushi rice be?
A: Sticky enough to hold together, but not so sticky that it’s a gummy mess. If it feels like glue, you probably didn’t rinse it enough.
Q: How long can I keep sushi rice?
A: Seasoned sushi rice should be eaten within a few hours. It doesn’t store well overnight.
Q: Can I freeze sushi rice?
A: No, freezing ruins the texture. Always make it fresh.
That’s it—you now know how to make the perfect sushi rice at home. Master this, and every sushi roll you make will taste restaurant-worthy.

