Let me tell you — the first time I baked sourdough bread, I felt like a magician pulling a golden loaf out of the oven.
That crackling crust, that soft airy inside… pure joy.
I started this recipe during lockdown when yeast was nowhere to be found. What started as an experiment became my favorite weekend ritual.
And here’s the truth: you don’t need to be a pro baker to make sourdough. If you can follow a few simple steps (and be a little patient), you’ll end up with the most beautiful, tangy, crusty loaf that’ll make your kitchen smell like heaven.
Let’s make it together.
What Makes Sourdough Bread So Special?
Sourdough is not your average bread. It’s made with wild yeast — not the instant kind from a packet, but a natural mix of flour and water that captures yeast from the air.
This gives sourdough that unique tangy flavor and chewy texture you can’t find in store-bought bread.
It’s also healthier. The fermentation process breaks down gluten, making it easier to digest. Plus, it lasts longer because of its natural acidity — no preservatives needed.
And honestly? Once you bake your own, you’ll never look at supermarket bread the same way again.
What You’ll Need
You don’t need fancy tools, just a few basics:
- Active sourdough starter (bubbly and fed)
- Water (room temperature)
- All-purpose or bread flour
- Salt
- A big bowl
- A Dutch oven or baking pot
- A kitchen towel or banneton (optional)
That’s it. Four ingredients. Simple, right?
Step 1: Make Sure Your Starter Is Active
Your starter is the heart of sourdough. It’s what makes the bread rise naturally.
Here’s how to know it’s ready:
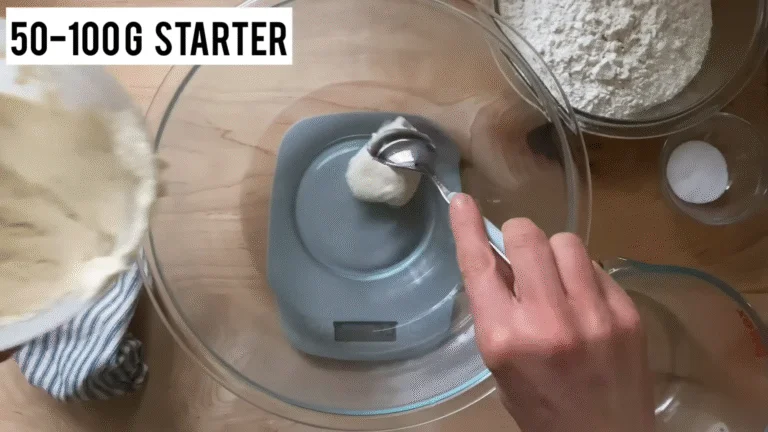
- Feed it 6–8 hours before baking.
- It should double in size, look bubbly, and smell slightly sweet and tangy.
- Drop a spoonful in water — if it floats, it’s active and ready.
If it sinks, it just needs more time or another feeding. Don’t rush this part — it’s worth waiting for.
Step 2: Mix the Dough
In a large bowl, mix:
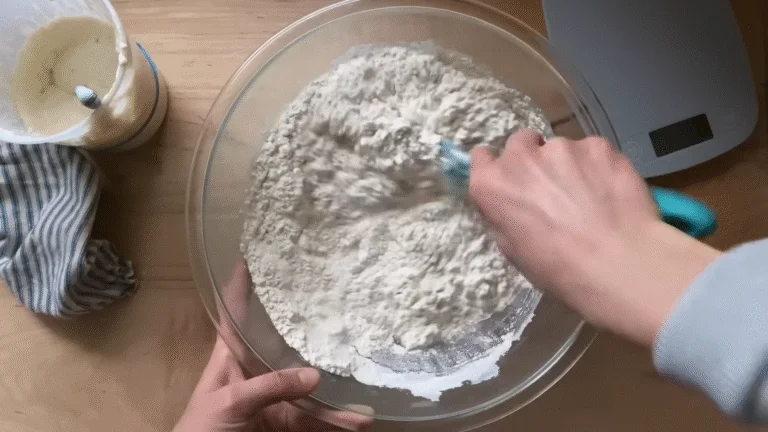
- 100g active sourdough starter
- 350g water
- 500g flour
- 10g salt
Stir everything until no dry flour remains. The dough will be sticky — that’s normal! Don’t add extra flour yet. Cover it with a towel and let it rest for 30 minutes. This rest helps the flour absorb water (a process called autolyse).
After resting, mix again for about 1–2 minutes until the dough feels smoother. You can use your hands — it’s part of the fun.
Step 3: Stretch and Fold (Building Strength)
Instead of kneading, sourdough uses the stretch and fold method.
Here’s how:
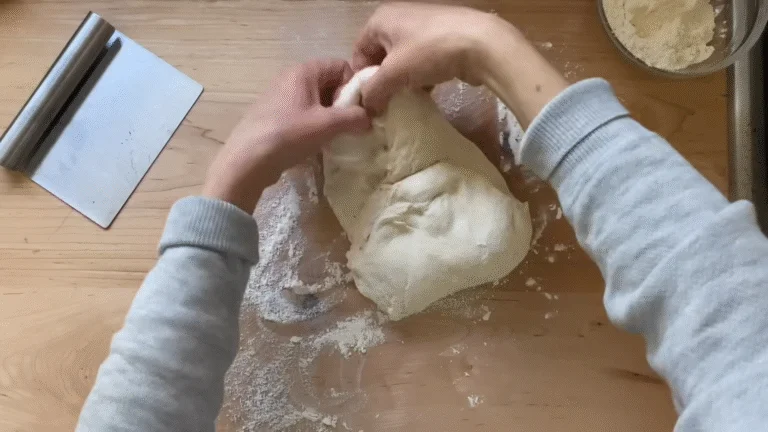
- Wet your hands.
- Grab one side of the dough, stretch it upward, then fold it over the middle.
- Turn the bowl and repeat 3–4 times.
Do this every 30 minutes for 2 hours (so about 4 rounds). You’ll feel the dough become stronger and smoother after each round. It’s like the dough is coming alive — that’s the wild yeast doing its magic.
Step 4: Bulk Fermentation (The Waiting Game)
Now, let the dough rest for 4–6 hours at room temperature (ideally around 75°F/24°C).
During this time:
- It should rise about 50% larger.
- You’ll see bubbles forming on the surface.
This stage is when the dough develops flavor and strength. Be patient — don’t rush it. If your kitchen is cold, it may take longer; if warm, it might be faster.
Step 5: Shape the Dough
Once the dough has risen, gently remove it onto a lightly floured surface. Don’t punch it down — we want to keep those air bubbles!
Shape it into a round loaf by folding the edges into the center, then flip it seam-side down and use your hands to create tension by pulling the loaf gently toward you in small circles.
Place the shaped dough into a floured banneton or bowl lined with a towel. Cover it and let it rest for 30–60 minutes.
Step 6: Cold Proof Overnight
This is where the flavor deepens.
Place the covered dough in the fridge overnight (8–12 hours). This slow fermentation makes the bread tangier and easier to handle when baking.
The next morning, it’ll be firm and ready to bake.
Step 7: Preheat and Bake
When you’re ready:
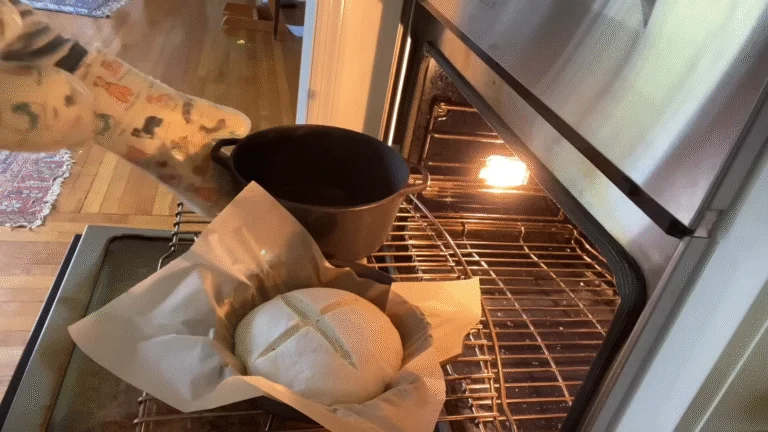
- Preheat your oven to 475°F (245°C) with your Dutch oven inside.
- Once hot, carefully place your dough inside.
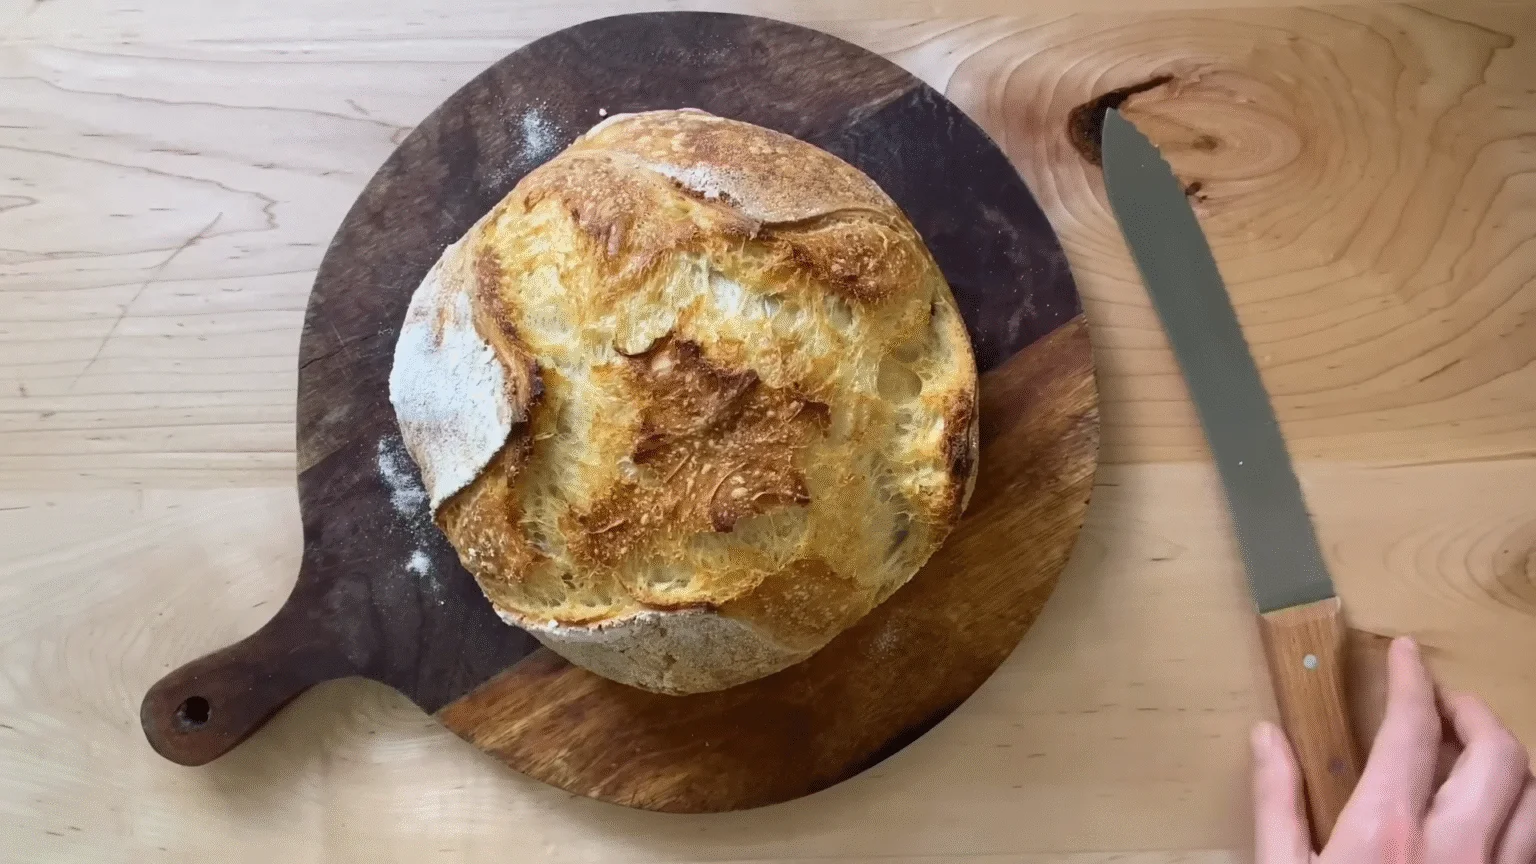
- Score the top with a sharp knife or razor — a small slash helps it expand beautifully.
- Cover and bake for 20 minutes, then remove the lid and bake another 25 minutes until golden and crackly.
Your house will smell like a bakery.
Let it cool for at least an hour before slicing (I know it’s hard to wait, but this step makes a difference!).
Step 8: Slice, Enjoy, and Fall in Love
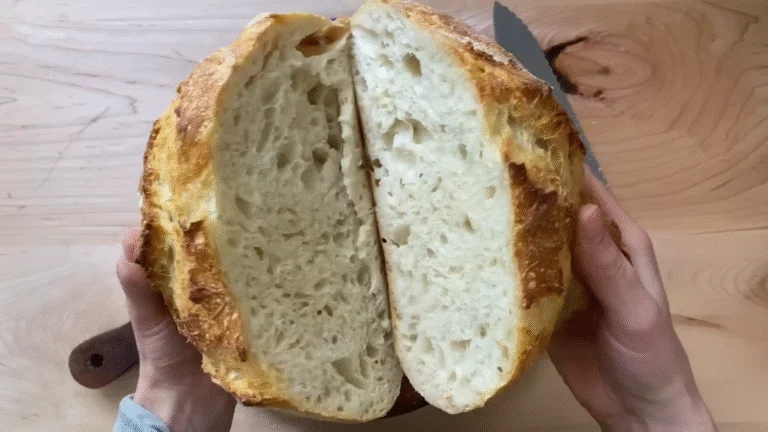
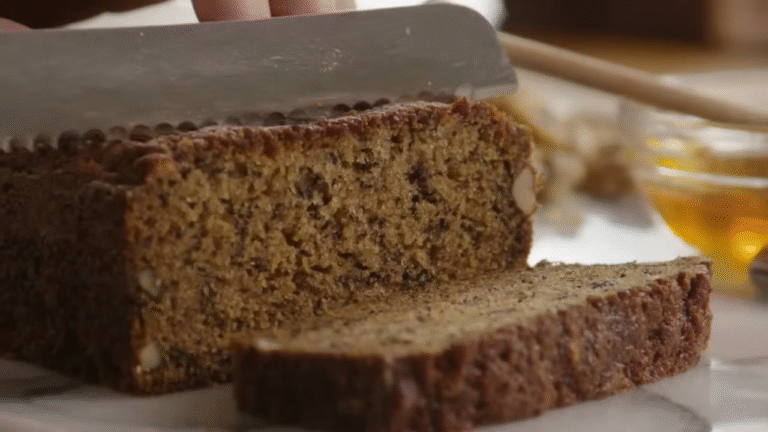
Now, this is the moment of truth. Cut through that crisp crust and listen to the crackle. The inside should be airy, soft, and slightly chewy.
Spread some butter, dip it in olive oil, or just eat it plain — it’s that good.
Once you make this once, you’ll understand why people become obsessed with sourdough. It’s not just bread; it’s a little piece of art you create with your hands.
Tips for Perfect Sourdough Every Time
- Use a kitchen scale – accuracy matters for bread.
- Be patient – sourdough takes time, but it’s worth every minute.
- Don’t over-proof – if your dough feels too loose and bubbly, bake it sooner.
- Experiment – try adding seeds, herbs, or whole wheat flour for fun twists.
Sourdough is forgiving. Each loaf teaches you something new.
Why You’ll Love This Recipe
Because it’s simple, natural, and real.
You’ll love the smell filling your home, the crispy crackle when you slice it, and the satisfaction of making something from scratch that looks like it came from a bakery.

It’s also great for your gut — thanks to natural fermentation — and lasts longer than normal bread.
This recipe is about slowing down and enjoying the process. Once you try it, you’ll never want to buy bread again.
FAQs About Sourdough Bread
Q: How do I make a sourdough starter from scratch?
Mix equal parts flour and water (like 100g each) in a jar. Leave it at room temperature and feed it daily with the same ratio. In about 5–7 days, it’ll be bubbly and ready to use.
Q: My bread didn’t rise. What went wrong?
Your starter might not have been active enough. Always test it with the “float test.” Also, temperature affects fermentation — colder rooms slow it down.
Q: Can I use whole wheat flour?
Yes! It adds more flavor and nutrients. You might just need to add a bit more water because whole wheat absorbs more moisture.
Q: How long does sourdough last?
At room temperature, it stays fresh for about 4–5 days. You can also freeze slices and toast them later.
Q: Do I need a Dutch oven?
Not necessarily. You can use a baking stone or tray with a bowl of water in the oven to create steam — it helps form that crusty exterior.
Final Thoughts
Baking sourdough is a little journey — part science, part art, and a whole lot of heart. Once you get the hang of it, it becomes something you look forward to.
So go ahead — roll up your sleeves, feed that starter, and bake a loaf that’ll make your kitchen smell like pure comfort.
Trust me, when you take that first warm bite, you’ll think, “Why didn’t I start this sooner?”