If you’ve ever bitten into a juicy, sun-ripened plum and wished you could bottle up that flavor for rainy days, you’re in for a treat. Plum jam is exactly that: a jar of summer tucked away on your shelf, waiting to brighten up your mornings. Making jam might sound intimidating at first, but trust me—it’s not rocket science. It’s closer to the magic of turning ordinary fruit into something extraordinary with just a little sugar, heat, and patience.
This isn’t just about following steps—it’s about creating something you’ll actually look forward to spreading on warm toast, swirling into yogurt, or even dolloping onto roasted meats for a gourmet twist.
Let’s dive deep into how to make plum jam, with every little secret, tip, and bit of know-how so you’ll feel like a jam-making pro by the end.
Why Plum Jam Deserves a Spot in Your Kitchen
Plums are one of those fruits that often get overlooked. Everyone talks about strawberries, blueberries, or peaches, but plums? They’re the quiet kid in the corner who turns out to be the most interesting person in the room.
Nutritional perks:
- Plums are packed with vitamin C, antioxidants, and fiber.
- According to USDA data, one medium plum has about 30 calories, making it a light but nutrient-dense fruit.
- They’re known to help with digestion, support heart health, and keep blood sugar stable thanks to their natural fiber content.
When transformed into jam, plums give you that sweet-tart balance most fruits can’t pull off. Unlike some jams that are just sugar bombs in disguise, plum jam has character. It’s not cloyingly sweet; it’s nuanced—like a conversation that keeps pulling you in.
I remember the first time I made plum jam. I’d bought a huge basket of plums from a farmer’s market because they were on sale (classic me—buy first, figure out what to do later). I couldn’t eat them all before they went soft, so jam was the obvious rescue mission. The result? The most vibrant ruby-red jam I’d ever seen, with a flavor that tasted like sunshine in a jar. From then on, I was hooked.
Choosing the Right Plums for Jam
The variety of plums you pick will make or break your jam. Here’s what you need to know:
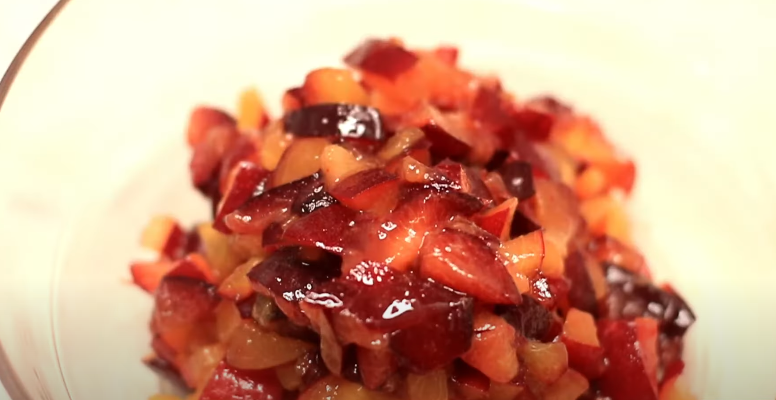
- Black plums (like Black Ruby or Friar): These give you a deep, jewel-toned jam with a rich, bold flavor.
- Red plums (like Santa Rosa): These are sweet and tangy, resulting in a jam with a bright kick.
- Yellow plums (like Mirabelle): These are milder and sweeter, perfect if you like a golden, honey-like jam.
If you can, use a mix of varieties. That’s the jam-maker’s secret to getting complexity. Think of it like blending different coffees or wines—you get more layers of flavor.
Pro tip: Plums naturally contain pectin, the magical substance that makes jam set without adding commercial pectin. But underripe plums have more pectin than ripe ones. So, tossing in a few firmer plums with your ripe ones helps your jam thicken beautifully.
Ingredients You’ll Need
Here’s the beauty of plum jam: you don’t need a laundry list of ingredients. Just a handful.
- Plums – about 2 lbs (900g), pitted and chopped
- Sugar – roughly 2 cups (400g), but this can vary depending on the sweetness of your fruit
- Lemon juice – 2 tablespoons (helps with setting and balances flavor)
- Optional extras: A cinnamon stick, vanilla bean, or star anise if you want to get fancy with flavor
That’s it. Just four basic ingredients can give you a jam that tastes like you slaved away for hours.
Step-by-Step: How to Make Plum Jam
Let’s walk through the process. I’ll keep it straightforward but sprinkle in the little details that recipes often leave out.
Step 1: Prepare the Plums
Wash your plums thoroughly. Slice them in half, remove the pits, and chop into chunks. No need to peel—the skins add color and natural pectin.
Step 2: Macerate with Sugar

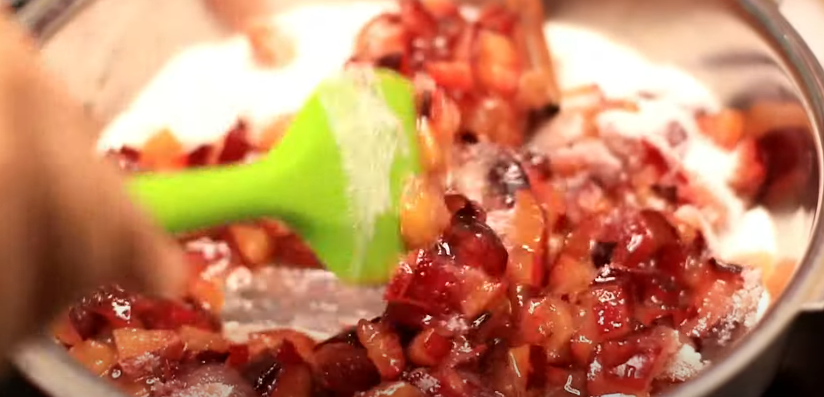
Place the chopped plums in a large bowl. Add the sugar and lemon juice. Let them sit for about 30 minutes. This step draws out the juices, dissolves the sugar a bit, and kickstarts the jam-making process.
Think of it as marinating, but for fruit. You’ll see a syrupy liquid form at the bottom, which is pure jam gold.
Step 3: Cook the Mixture
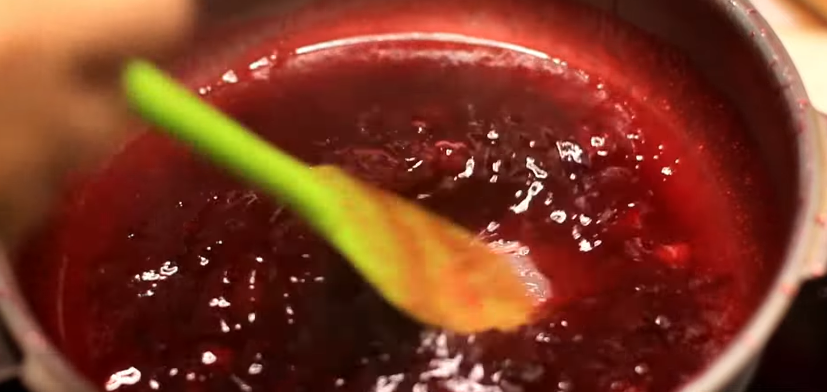
Transfer the plums and juices into a heavy-bottomed pot. Bring to a boil over medium-high heat, then reduce to a simmer. Stir often to prevent sticking.
As the plums cook down, they’ll release more juices, and the mixture will start to thicken. Skim off any foam that rises—it won’t hurt the jam, but removing it makes for a prettier result.
Step 4: Test for Doneness
Jam is ready when it reaches about 220°F (105°C) on a candy thermometer. But if you don’t have one, use the cold plate test:
- Place a plate in the freezer.
- Drop a spoonful of jam on the cold plate.
- Push it gently with your finger. If it wrinkles, it’s done. If it runs, cook a little longer.
Step 5: Jar It Up
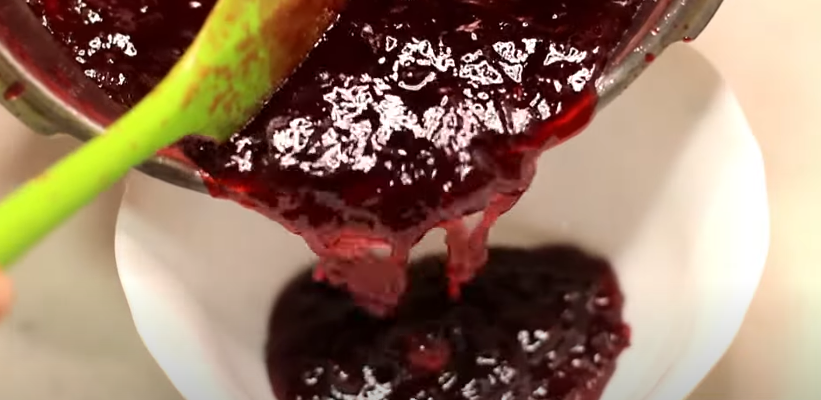
Pour the hot jam into sterilized jars, leaving a little space at the top. Wipe rims clean, seal with lids, and process in boiling water for 10 minutes if you plan to store long-term.
How Long Does Plum Jam Last?
Here’s the lowdown on storage:
- In the pantry (sealed jars): Up to 12 months.
- In the fridge (opened jar): About 3 weeks.
- In the freezer: Up to 6 months, if you skip canning and just store in freezer-safe containers.
Homemade jam doesn’t have the shelf-stable preservatives store-bought ones do, but that’s the point—it’s fresher, healthier, and free from unnecessary additives.
Creative Ways to Use Plum Jam
Sure, spreading plum jam on toast is classic, but don’t stop there. This jam is versatile:
- Swirl into yogurt or oatmeal for a quick breakfast upgrade.
- Glaze for meats: Brushed on chicken, pork chops, or even roasted duck, plum jam turns into a restaurant-worthy glaze.
- Desserts: Use it between cake layers, drizzle over cheesecake, or mix into brownie batter for a fruity twist.
- Cheese pairing: Soft cheeses like brie or goat cheese love a spoonful of tangy plum jam.
One of my favorite tricks? Mixing plum jam with a splash of soy sauce and ginger to make a quick dipping sauce for dumplings. It’s like East meets West in the tastiest way possible.
Troubleshooting Common Jam Problems
Even seasoned jam-makers hit a few bumps. Here’s how to handle them:
- Jam too runny? Cook longer, or add a few underripe plums next time. You can also reboil with a little added pectin if needed.
- Jam too thick? Add a splash of water and reheat gently to loosen it.
- Jam crystallized? Too much sugar can cause this. Heat it with a bit of lemon juice to dissolve crystals.
- Jam too tart? Add a bit more sugar. Balance is everything.
Why Make Jam Instead of Buying It?
It’s a fair question. Store-bought jams are everywhere, so why spend 35–40 minutes making your own? Here’s why:
- Control over ingredients: No corn syrup, artificial flavors, or hidden preservatives.
- Better flavor: Fresh plums taste brighter and more alive than mass-produced jam.
- Satisfaction: There’s something deeply rewarding about lining up jars you made yourself.
- Cost-effective: A batch of plum jam costs less than buying premium jam brands.
According to Statista, Americans consumed about 1.04 pounds of jams, jellies, and preserves per person in 2021. Imagine how much tastier that number would be if more of it was homemade.
Personal Anecdote: The Jam That Won a Family Over
A few summers back, I gifted a jar of plum jam to my aunt, who swore by store-bought brands. She gave me a skeptical look when I handed it over. But a week later, she called, practically demanding another jar because she’d finished the first one in two days. That’s when I knew plum jam had superpowers.
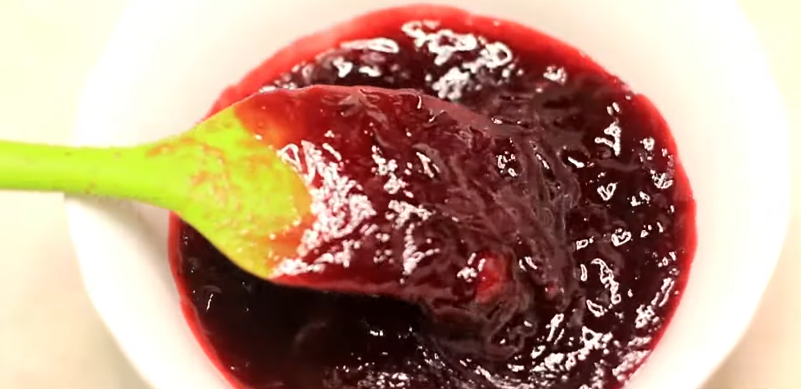
It’s not just about fruit and sugar—it’s about creating something that makes people smile at breakfast.
Variations of Plum Jam You’ll Love
Once you master the basic recipe, you can get creative:
- Spiced Plum Jam: Add cinnamon, cloves, or cardamom for cozy winter vibes.
- Vanilla Plum Jam: A scraped vanilla bean adds warmth and elegance.
- Plum and Ginger Jam: A touch of grated ginger brings a zingy freshness.
- Plum and Blackberry Jam: For an extra-deep purple hue and berry complexity.
Final Thoughts
Making plum jam isn’t just about preserving fruit—it’s about capturing a season and stretching it across the year. It’s about turning a kitchen task into a creative act, one that fills your home with sweet, tangy aromas and rewards you with jars of jewel-toned goodness.
So next time you see plums piled high at the market, grab them. Even if they’re a little overripe, even if you’re not sure what to do with them—because now you do. You’ll make jam. And you’ll love every spoonful of it.


