You know those moments when you bite into soft, warm pita bread and wonder, “How on earth do they make this so fluffy inside and golden outside?” That was me a few years back.
I loved pita bread but always thought it was something only bakeries could pull off. Spoiler: I was wrong. After a few trials (and some funny flat-bread fails), I cracked the code.
And today, I’m sharing my perfect pita bread recipe — so easy you’ll laugh when you see how simple it really is.
Let’s get into it — because you don’t need fancy equipment, just a few pantry basics, and a little patience.
Why You’ll Fall in Love with This Pita Bread
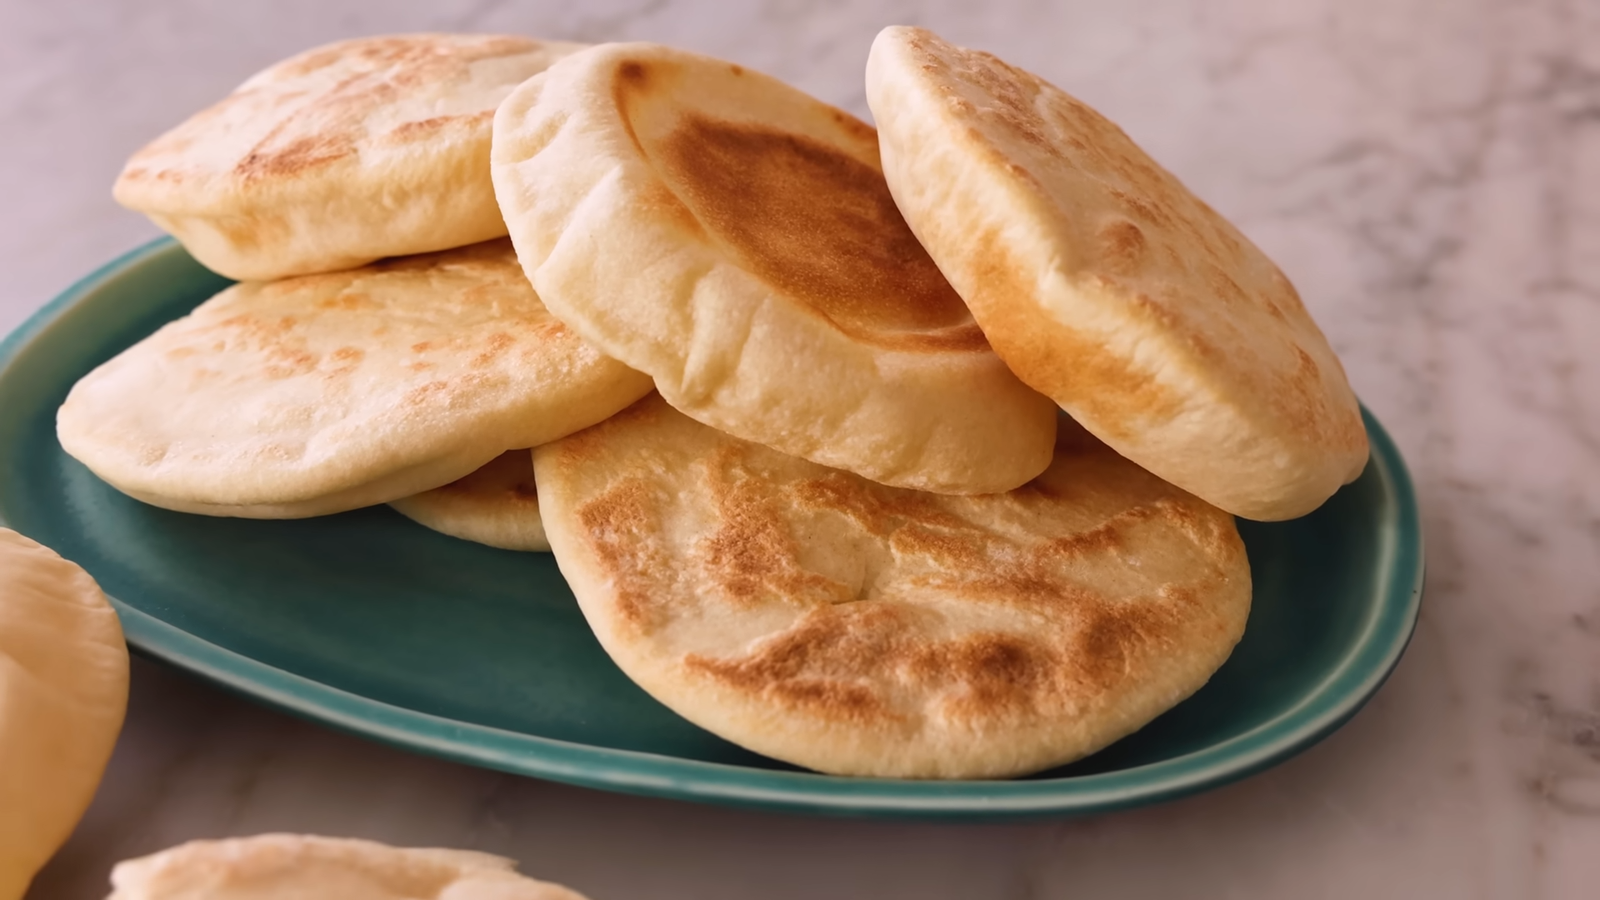
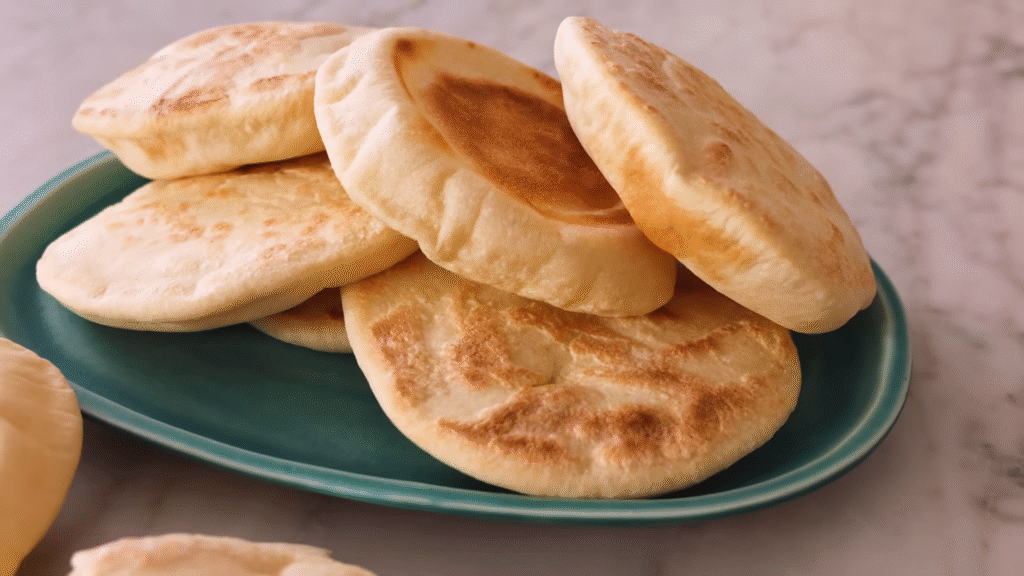
You’ll love this pita bread because it’s soft, puffy, and slightly chewy, with a pocket perfect for stuffing. The smell alone — that warm, yeasty, fresh-baked aroma — is enough to make the whole house feel cozy.
This recipe gives you:
- Fluffy centers that stay soft even after cooling.
- Golden edges that crisp up just right.
- Simple ingredients — no hard-to-find stuff here.
- Versatility — use it for wraps, dips, sandwiches, or just eat it warm with butter.
I promise, once you make this, you’ll never buy store pita again.
Ingredients You’ll Need
Here’s what you’ll need for the magic:
- 2 ½ cups all-purpose flour (plus a little extra for dusting)
- 1 teaspoon salt
- 1 teaspoon sugar
- 2 teaspoons instant yeast
- ¾ cup warm water (not hot, just comfortably warm)
- 2 tablespoons olive oil
Simple rule: if your yeast is alive and your dough rests well, you’ll get that perfect puff every time.
Step-by-Step: How to Make Pita Bread
1. Activate the Yeast (If You’re Using Active Dry Yeast)
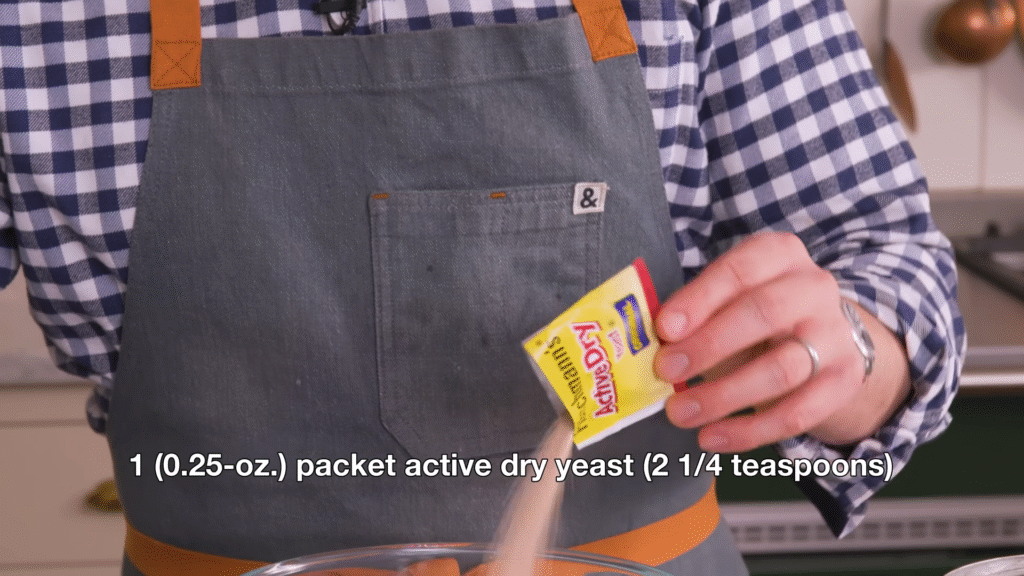
If you’re using active dry yeast instead of instant, mix it with warm water and sugar, then let it sit for about 10 minutes until foamy. If you’re using instant yeast, skip this step and just mix it directly into the flour.
2. Make the Dough
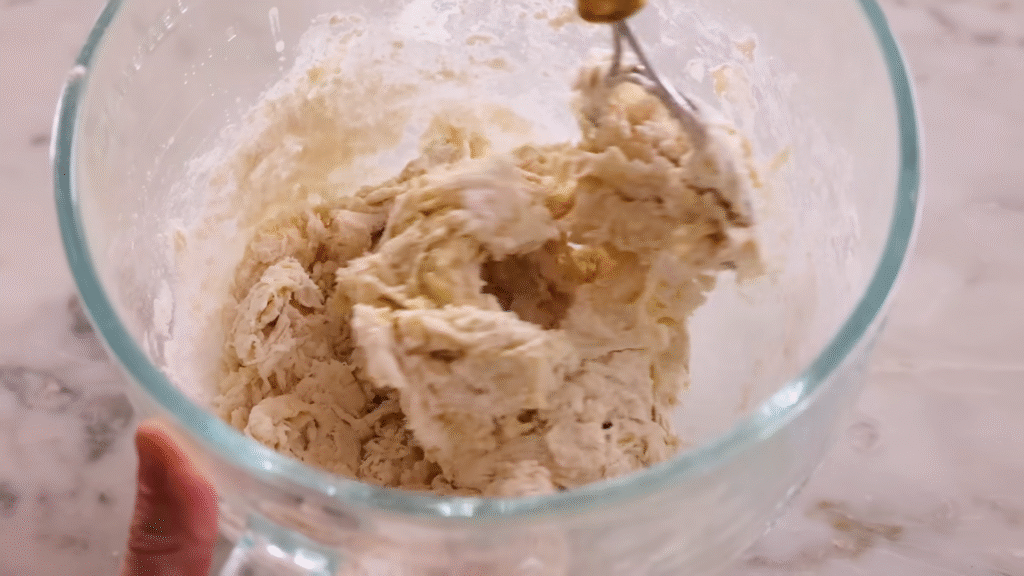
In a large bowl, mix flour, salt, and yeast together. Add the olive oil and water slowly, stirring until the dough begins to form. Once it starts coming together, knead it for about 8–10 minutes on a floured surface until it’s smooth and elastic.
You’ll know it’s ready when the dough feels soft but not sticky — kind of like a baby’s cheek.
3. Let It Rise
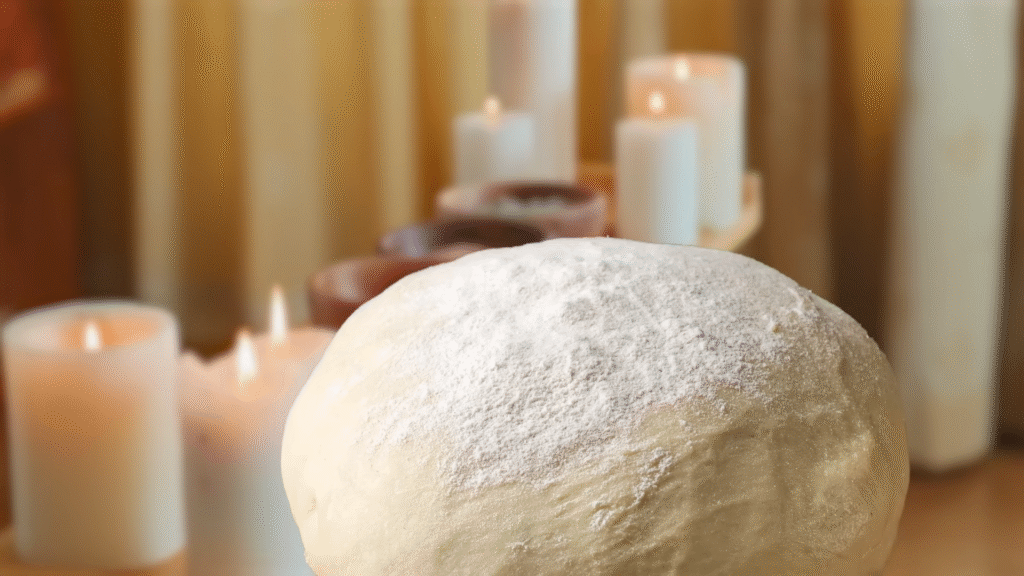
Place the dough in a lightly oiled bowl, cover it with a clean towel, and let it rest for 1 hour or until it doubles in size.
This part always feels magical — watching that dough puff up like it’s alive (because it kinda is!).
4. Divide and Shape
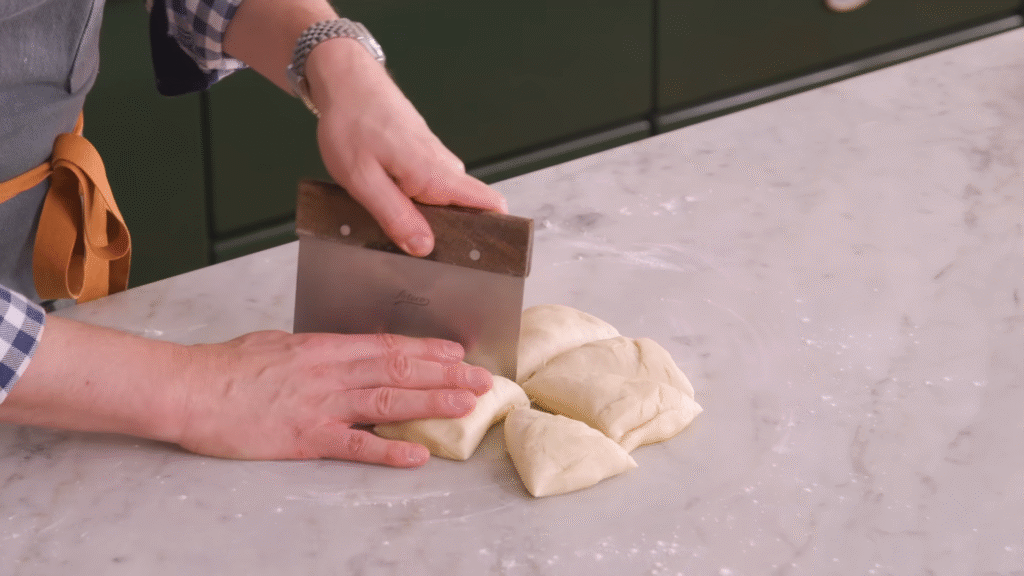
Once the dough has risen, punch it down gently to release air. Divide it into 6–8 equal balls.
Roll each one into a smooth ball, then flatten them gently into discs about ¼ inch thick. Don’t roll them too thin or they won’t puff up properly.
5. Let It Rest Again

Cover the rolled discs and let them rest for about 10 minutes. This helps the gluten relax, making them easier to puff up when cooked.
6. Cook the Pitas
You can cook pita bread in two ways — on the stovetop or in the oven. I’ll explain both.
Oven Method (Best for Puffy Pockets)

- Preheat your oven to 475°F (245°C) and place a baking stone or inverted baking sheet inside to heat up.
- Carefully place your dough rounds on the hot surface and bake for 2–3 minutes until they puff up like balloons.
- Flip and bake another 1–2 minutes for color.
Stovetop Method (Quick & Easy)
- Heat a skillet over medium-high heat.
- Place one dough round at a time and cook for 1 minute on one side until bubbles start to form.
- Flip and cook for another 1–2 minutes.
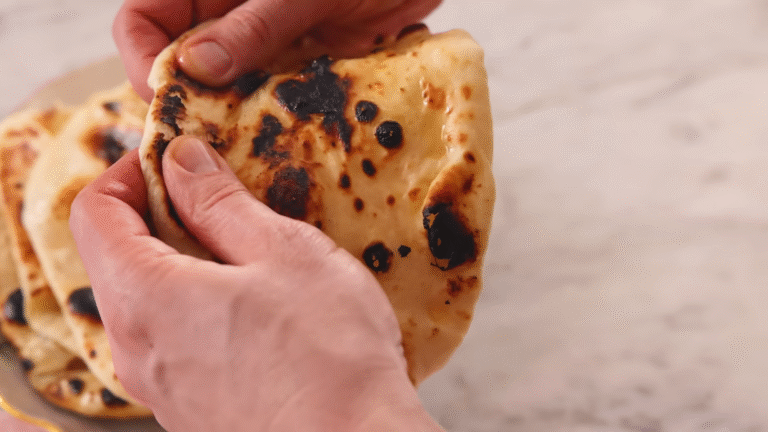
- Keep flipping until it puffs beautifully and gets golden spots.
Tip: Cover them with a clean towel after cooking to keep them soft.
How to Store Homemade Pita Bread
Fresh pita bread is best eaten warm, but you can store it easily:
- Room temperature: Keep in a sealed plastic bag for up to 2 days.
- Fridge: Store in a zip bag for up to 5 days.
- Freezer: Wrap each pita individually and freeze for up to 2 months.
To reheat, just toss it on a hot pan for 30 seconds or microwave for 10 seconds with a damp paper towel on top.
Tips for Perfect Pita Bread Every Time
- Don’t roll too thin: If you roll them too flat, they won’t puff up. Keep that ¼-inch thickness.
- Hot oven or pan is key: The high heat is what creates that signature pocket.
- Let the dough rest: Never skip the resting times — it’s what makes them soft.
- Use fresh yeast: Old yeast won’t puff up the dough properly.
- Cover after cooking: It traps moisture and keeps the pita soft and flexible.
What to Eat with Pita Bread
Pita is like the best friend of all dips and fillings. Here’s what I love pairing it with:
- Hummus – classic and creamy.
- Garlic yogurt dip – tangy and refreshing.
- Falafel – stuffed in pita pockets for the perfect bite.
- Grilled chicken or beef – for juicy pita wraps.
- Fresh veggies and feta – simple and Mediterranean.
Or my favorite — just tear a piece and swipe it through olive oil and za’atar. Heaven.
Why This Recipe Works So Well
The trick lies in the balance of moisture and heat. The dough’s hydration level helps steam form inside, which causes the bread to puff. When you bake or cook it at high heat, the outer layer seals quickly, trapping steam and creating that pocket.
It’s simple science — but also a little kitchen magic.
FAQs About Pita Bread
Q: Why didn’t my pita bread puff up?
A: Usually, it’s because the dough was rolled too thin or your oven/pan wasn’t hot enough. Make sure it’s blazing hot before cooking.
Q: Can I make the dough ahead of time?
A: Yes! You can refrigerate the dough overnight. Let it come to room temperature before rolling and cooking.
Q: Can I use whole wheat flour?
A: Absolutely! Replace half of the all-purpose flour with whole wheat for a nuttier flavor.
Q: How do I make it softer?
A: Brush warm pita with melted butter or olive oil right after cooking, then cover with a towel.
Q: Can I use a rolling pin?
A: Yes, but roll gently. You want even thickness so the pita puffs evenly.
Final Thoughts
There’s something truly special about pulling warm, homemade pita bread straight from your oven or skillet. It’s simple, cozy, and endlessly satisfying. Once you try this, you’ll never settle for store-bought again.
So go on — grab that flour, fire up your pan, and make your kitchen smell like a Mediterranean bakery today. You’ll thank yourself later when you tear into that first soft, puffy bite.