Pickled okra is one of those foods that doesn’t just sit quietly on your plate—it makes a statement. Crunchy, tangy, a little spicy if you like it that way, and endlessly versatile, pickled okra is a Southern staple that deserves a spot in every kitchen. If you’ve ever bitten into a perfectly brined spear of okra, you know it’s not just about preserving vegetables—it’s about bottling up flavor, texture, and tradition.
If you’ve never made it at home, don’t worry—I’m going to walk you through everything from selecting the freshest pods to creating brines that taste like they’ve been handed down through generations. And yes, I’ll give you the secrets to keeping your pickled okra crunchy instead of slimy.
Why Pickled Okra Deserves Your Attention
Pickling okra is more than just a way to preserve it for later. It transforms okra into something entirely different—refreshing, tangy, and crunchy, with a bite that makes you want to reach for another jar.
- Cultural tradition: In the American South, pickled okra has been around for centuries, often served at family gatherings, holidays, or as a cocktail garnish (yes, it’s a Bloody Mary’s best friend).
- Nutritional powerhouse: Okra is rich in vitamin C, vitamin K, and antioxidants, and pickling preserves many of these nutrients. According to the USDA, one cup of raw okra contains about 3 grams of fiber and 2 grams of protein, making it filling yet light.
- Versatility: Eat it straight from the jar, chop it into salads, add it to sandwiches, or use it as a sidekick for barbecue and fried chicken.
When you pickle okra at home, you control the ingredients—less sodium if you want, more garlic if you’re bold, or chili flakes for that fiery kick.
Choosing the Freshest Okra
The success of your pickled okra recipe starts at the market. Don’t skimp here.
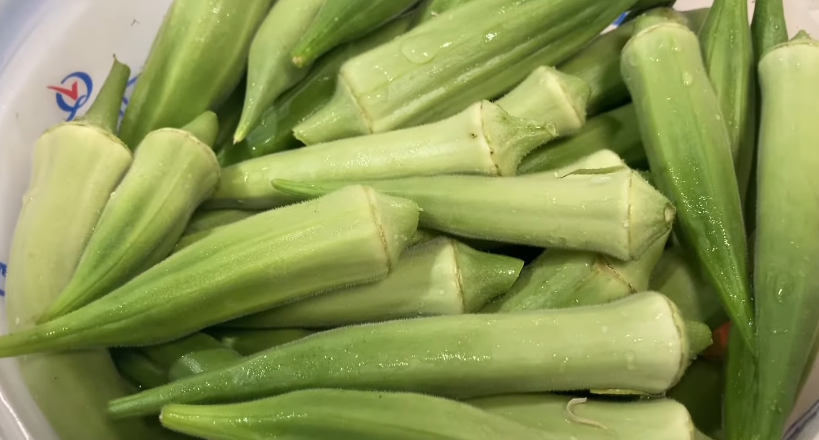
- Go for small to medium pods: The best pickling okra measures 2–4 inches long. Anything larger tends to be fibrous and tough.
- Bright green color: Look for pods that are vibrant and free from dark spots or bruises.
- Firm texture: When you gently squeeze, they should feel crisp, not soft or limp.
A personal tip: I once made the mistake of grabbing a bag of okra that was a few days past prime—trust me, slimy okra pickles are not the memory you want to create. Freshness is the difference between crunchy perfection and mushy regret.
Essential Ingredients for Pickled Okra
Pickling is simple, but every ingredient plays a role. Here’s your core lineup:
- Okra pods – about 2 pounds for 4 pint jars.
- Vinegar – white vinegar or apple cider vinegar works best. You want 5% acidity for safe canning.
- Water – filtered if possible, since chlorine in tap water can affect flavor.
- Salt – non-iodized pickling salt is ideal; it prevents cloudiness in the brine.
- Garlic cloves – whole, peeled cloves add depth.
- Spices:
- Mustard seeds
- Dill seeds or fresh dill sprigs
- Black peppercorns
- Red pepper flakes (optional, for heat)
For a basic brine ratio: 1 part vinegar to 1 part water with 1 tablespoon of salt per cup of liquid. This is your golden pickling formula.
The Science Behind Pickling Okra
Pickling isn’t just about flavor—it’s preservation science at work.
- Acidity: The vinegar lowers the pH of the okra, preventing bacteria like Clostridium botulinum from surviving.
- Salt: Draws out moisture from the okra, keeping it crisp while adding a savory bite.
- Temperature: If you process jars in a hot water bath, it ensures shelf stability. Refrigerator pickles skip this step but should be eaten within a few months.
A fun fact: According to the National Center for Home Food Preservation, properly canned pickled vegetables can last up to 1 year unopened at room temperature. That’s pantry magic.
Step-by-Step Guide: Pickled Okra Recipe
Now, let’s roll up our sleeves and get into the process. This recipe makes about 4 pint-sized jars.
Ingredients
- 2 pounds small okra pods
- 4 cups white vinegar (5% acidity)
- 4 cups water
- 8 garlic cloves
- 4 tablespoons pickling salt
- 4 teaspoons mustard seeds
- 4 teaspoons dill seeds (or 4 fresh dill sprigs)
- 2 teaspoons black peppercorns
- Red pepper flakes (optional)
Instructions
- Sterilize the jars: Wash your jars in hot, soapy water and then boil them for 10 minutes. Keep them warm until ready.
- Prepare the okra: Rinse the pods, trim the stems slightly (don’t cut into the pod or it may release slime).
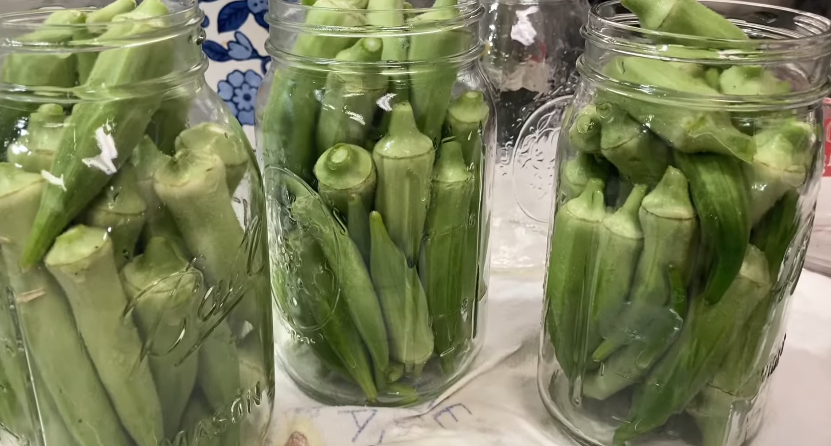
- Pack the jars: Place garlic, mustard seeds, dill, and peppercorns at the bottom of each jar. Pack okra pods vertically, tips up.
- Make the brine: In a saucepan, combine vinegar, water, and salt. Bring to a boil until salt dissolves.
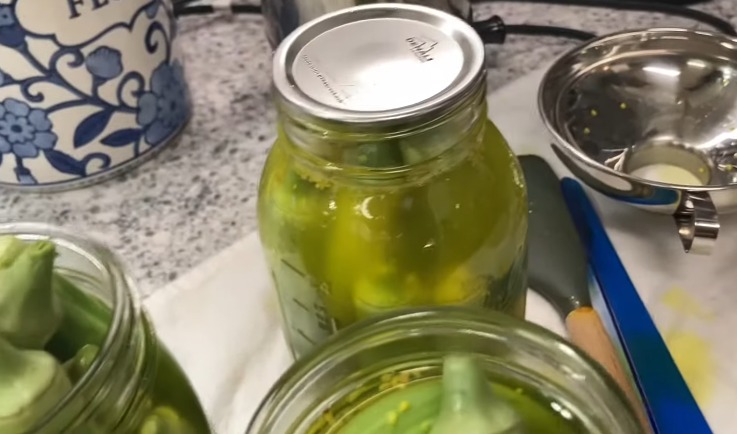
- Pour the brine: Carefully ladle hot brine into jars, leaving ½ inch of headspace.
- Seal the jars: Wipe rims clean, place lids, and screw bands until fingertip tight.
- Process (optional for shelf-stable): Place jars in a boiling water bath for 10 minutes.
- Wait for flavor: Let jars sit at least 1 week before eating. The flavor intensifies with time.
How to Keep Pickled Okra Crunchy
Nobody wants mushy pickled okra. Here’s how to keep them crisp:
- Don’t overcook: Only pour hot brine over okra; don’t boil the pods themselves.
- Add grape leaves or bay leaves: These contain tannins that help maintain crunch. Old-school Southern grandmothers swear by this trick.
- Pick young okra: Large pods are naturally stringy and won’t crisp up.
- Cold soak method: Some people soak okra in ice water for 30 minutes before pickling.
I’ve tried the grape leaf trick myself, and it works like a charm. Just slip one into each jar, and your okra will thank you.
Flavor Variations to Try
The beauty of homemade pickled okra is customization. Here are some spins you can try:
- Spicy Pickled Okra: Add sliced jalapeños or dried chili peppers to each jar.
- Lemon-Dill Okra: Add thin slices of lemon and extra dill for a bright flavor.
- Sweet Pickled Okra: Stir a tablespoon of sugar into the brine for a sweet-and-sour twist.
- Garlic-Lovers’ Okra: Double the garlic cloves for an extra punch.
Pickling is like painting—you get the canvas (okra) and brine (background), and you choose the brushstrokes (flavors).
How to Use Pickled Okra in Everyday Cooking
Sure, eating them straight from the jar is fun, but let’s get creative.
- Bloody Mary Garnish: Replace celery sticks with pickled okra for a Southern cocktail flair.
- Charcuterie Boards: Add them alongside cheese, cured meats, and olives.
- Salads: Slice and toss into potato salads or grain bowls for tangy crunch.
- Sandwiches and Burgers: Layer pickled okra like you would pickles.
- Southern Snack: Just grab a jar and a fork—no shame.
When I hosted a summer BBQ last year, I set out jars of pickled okra next to the grilled chicken and ribs. They disappeared faster than the coleslaw. People love that unexpected tangy crunch.
Health Benefits of Pickled Okra
Beyond flavor, pickled okra brings real health benefits:
- Gut health: The vinegar in the brine supports digestion. If you opt for lacto-fermented pickled okra (instead of vinegar brine), you’ll also get probiotics.
- Low calorie: One cup of pickled okra has fewer than 40 calories.
- Rich in antioxidants: Okra contains polyphenols that help combat inflammation.
According to Frontiers in Nutrition (2021), polyphenols in vegetables like okra may help reduce the risk of chronic diseases such as diabetes and heart disease. That’s a lot of power packed into a little pod.
Common Mistakes to Avoid
Making pickled okra isn’t complicated, but here are the pitfalls you want to sidestep:
- Cutting into the pod: This releases mucilage (the slime) into your brine. Always trim stems carefully.
- Skipping the salt: Salt isn’t optional—it’s essential for flavor and texture.
- Using the wrong vinegar: Flavored or weak vinegar (less than 5% acidity) won’t preserve properly.
- Rushing the wait: Pickled okra needs at least a week to reach full flavor.
Patience is key. Think of it like letting a good wine breathe—time transforms it.
Storing Pickled Okra Safely
- Refrigerator pickles: Good for up to 3 months.
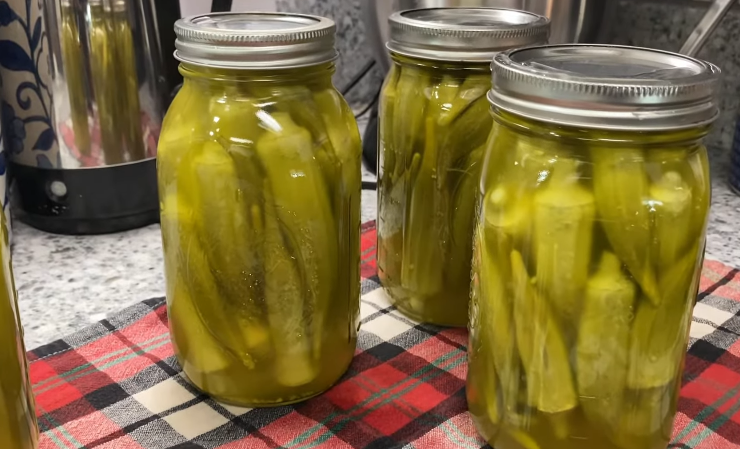
- Canned pickled okra: Shelf-stable for up to 12 months unopened. Once opened, refrigerate and eat within 2–3 weeks.
- Cool, dark place: Store jars in a pantry or cellar away from direct sunlight.
I keep a dedicated “pickle shelf” in my pantry. There’s something satisfying about seeing rows of jars lined up like edible trophies.
A Brief History of Pickled Okra
Okra itself is thought to have originated in Ethiopia more than 1,000 years ago, spreading through North Africa and the Middle East before arriving in the Americas via the transatlantic slave trade.
Pickling okra became popular in the Southern United States as a way to preserve summer harvests for year-round use. It wasn’t just about convenience—it was survival in a time before refrigeration.
Today, pickled okra remains a symbol of Southern hospitality. Walk into a Southern kitchen, and there’s a good chance a jar is waiting to be shared.
Final Thoughts
Pickled okra isn’t just another preserved vegetable—it’s a tradition, a snack, and a flavor bomb all in one. Making it at home gives you the freedom to create jars that are uniquely yours—spicy, garlicky, or dill-heavy.
The process is simple, the ingredients are few, and the rewards are plenty. Next time you find yourself with a basket of fresh okra, don’t just fry it—pickle it. Your future self (and your pantry) will thank you.

