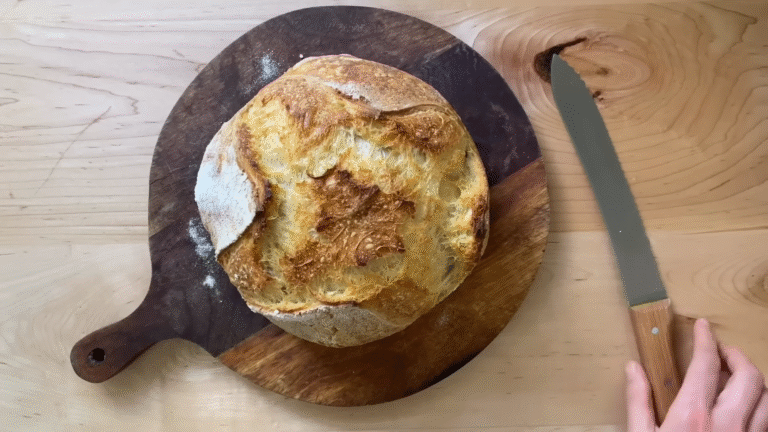

You know those mornings when you just crave warm bread with butter that melts right in? That was me one day—standing in the kitchen, wanting that comfort but realizing regular bread was no longer my friend.
I’d started feeling bloated and tired every time I ate it. That’s when I decided to make my own gluten-free bread. And wow, what a game changer!
I’m sharing this with you because if you’ve ever missed the smell and taste of homemade bread—but had to skip it because of gluten—this recipe will bring that joy right back.
Let’s talk about how to make it, why it works, and how to get it just right.
What Makes This Gluten-Free Bread So Special
Let’s be honest—most gluten-free breads are either too dry, too dense, or taste like cardboard. I’ve been there. I’ve bought those store-bought loaves that crumble when you just look at them.
This bread? Totally different.
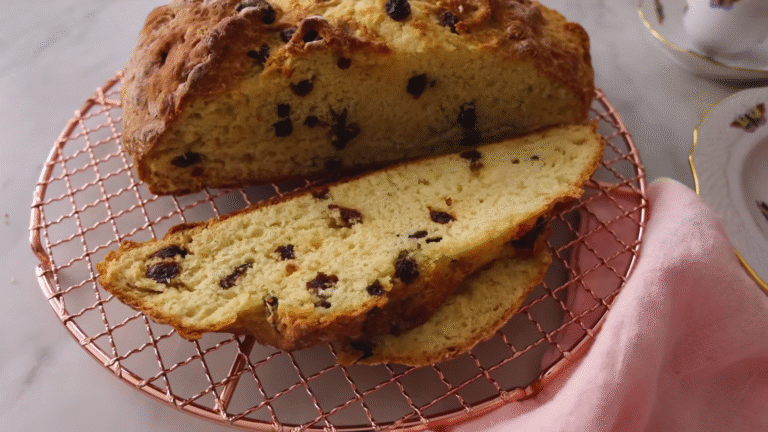
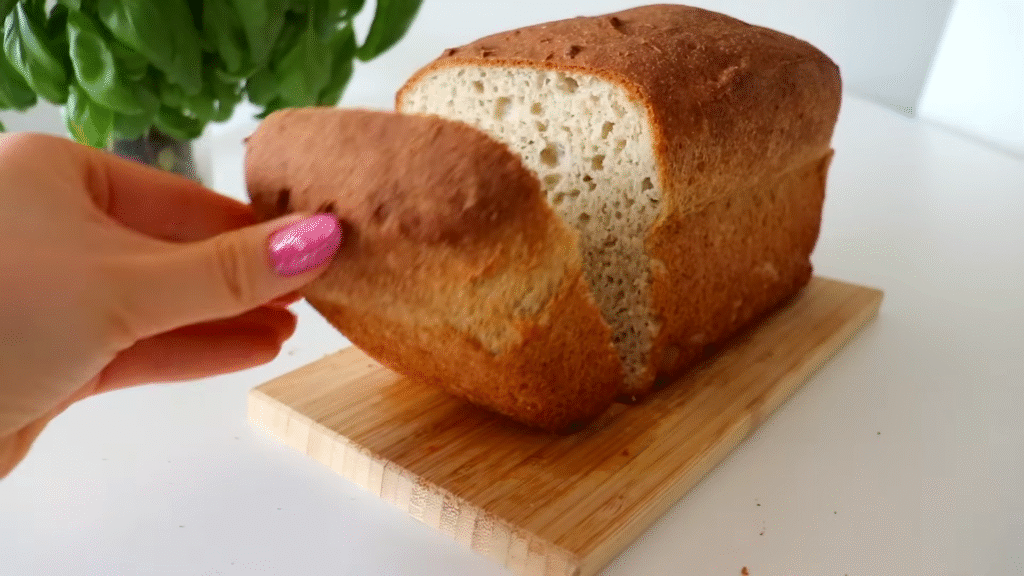
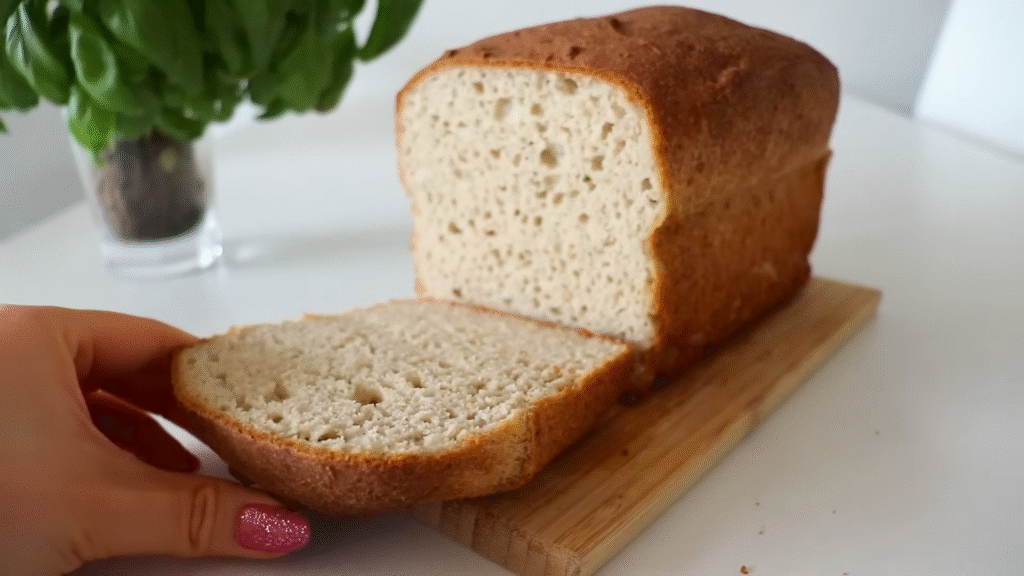
It’s soft, moist, and has that perfect chewy texture you miss. You can toast it, make sandwiches, or just enjoy it plain with a little butter or jam.
What makes it special is the perfect blend of gluten-free flours, a little moisture magic, and the right resting time. It’s not about replacing wheat—it’s about balancing what your dough needs to rise, stay soft, and taste like the real thing.
The Ingredients That Actually Work
You don’t need fancy stuff—just a few smart choices.
1. Gluten-Free Flour Blend
The base of any good bread. You can buy ready-made gluten-free blends or make your own using rice flour, tapioca starch, and potato starch.
I like to mix:
- 2 cups rice flour
- ½ cup tapioca starch
- ½ cup potato starch
This combo gives structure, softness, and that beautiful light crumb.
2. Xanthan Gum (The Secret Hero)
Without gluten, your bread needs something to hold it together. That’s where xanthan gum comes in—it gives elasticity and keeps the bread from falling apart.
Use about 1 teaspoon per cup of flour blend.
3. Warm Water or Milk
This activates the yeast and helps make the bread soft. The water should feel warm but not hot—think baby-bath warm.
4. Yeast
This is what makes your bread rise and gives it that lovely smell. I use instant yeast—it’s easy and reliable.
5. Oil or Butter
A tablespoon or two keeps your bread moist. I often use olive oil for a lighter texture or melted butter when I want a richer taste.
6. Sugar or Honey
Just a spoonful helps the yeast wake up and adds a light sweetness.
7. Eggs
Eggs make the bread fluffy and help it brown beautifully.
Step-by-Step: How to Make Gluten-Free Bread That Actually Rises
Step 1: Mix the Dry Ingredients
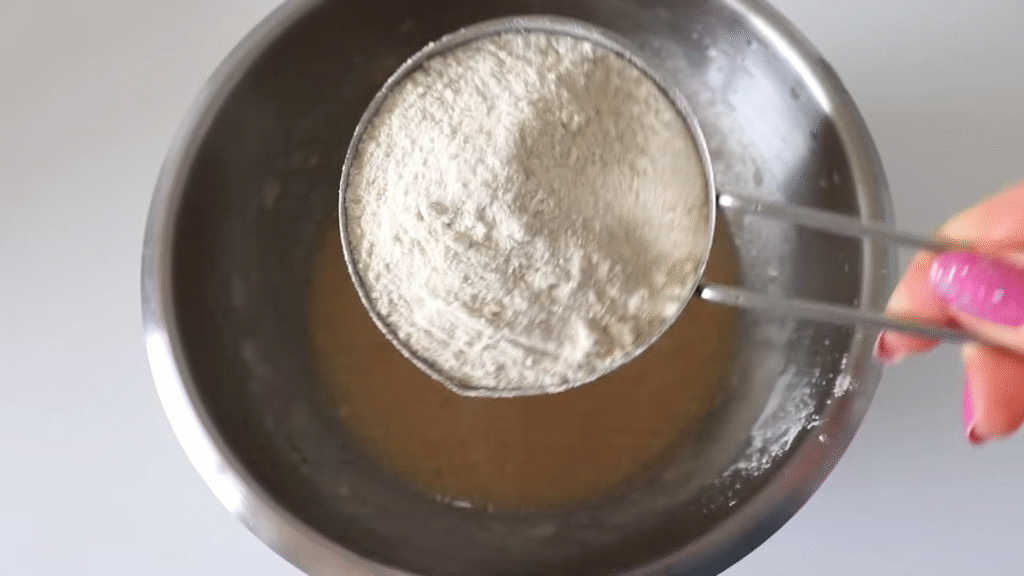
In a large bowl, mix your flour blend, xanthan gum, salt, and yeast. Stir them well so everything is evenly distributed.
Step 2: Add Wet Ingredients
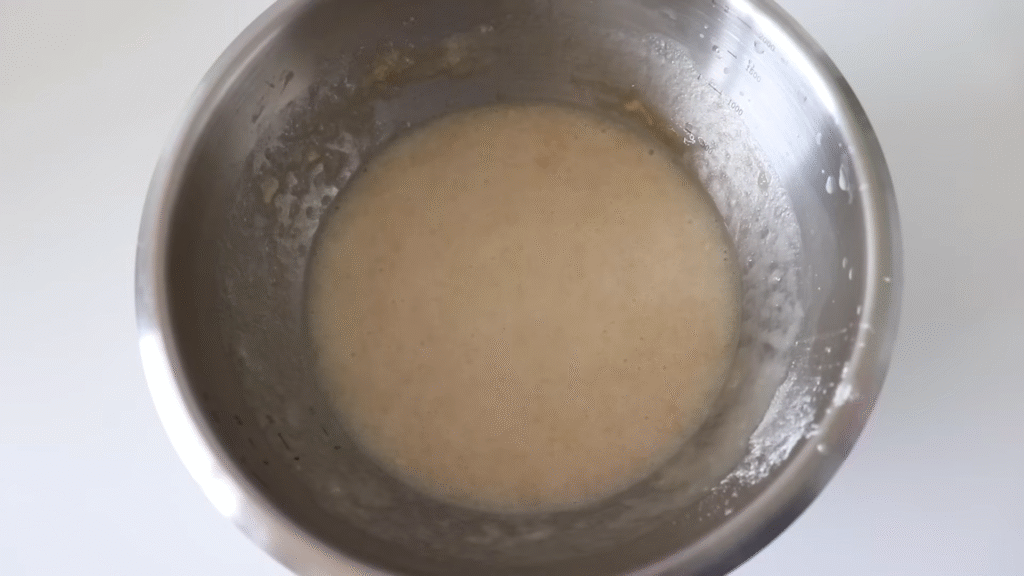
In another bowl, whisk your eggs, oil, warm water, and sugar.
Now, pour the wet mix into the dry mix and beat using a hand mixer or stand mixer for about 5 minutes.
The dough should be thick but sticky—more like cake batter than regular bread dough.
Step 3: Let It Rise
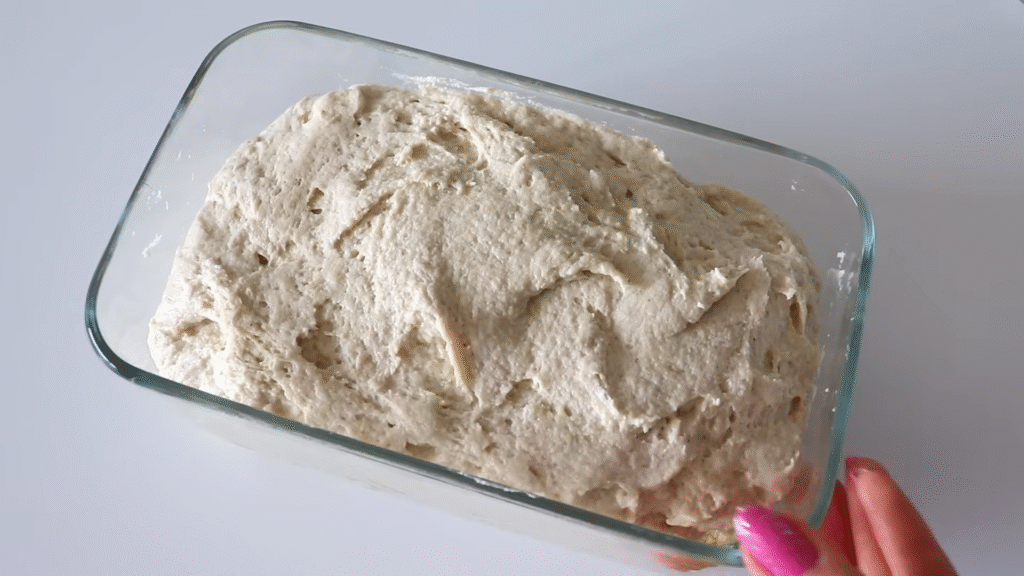
Cover the bowl and let it rise for 30–45 minutes in a warm place until it almost doubles.
This step makes your bread soft and airy.
Step 4: Bake It
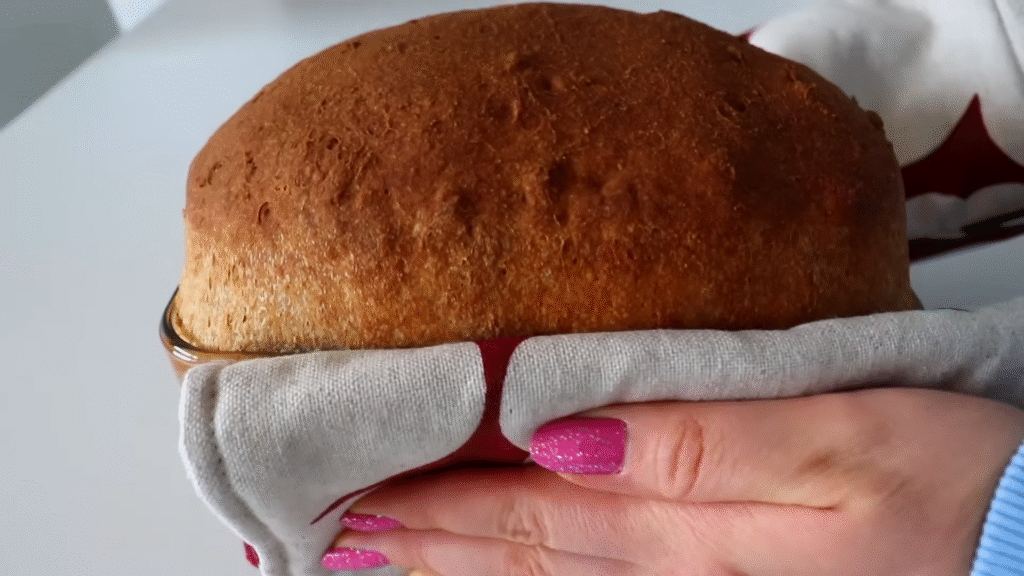
Preheat your oven to 375°F (190°C).
Grease a loaf pan, pour in the dough, and smooth the top with a spatula.
Bake for 35–40 minutes until it’s golden brown on top.
Step 5: Cool Before Cutting
This is hard, I know—but let it cool for at least 20 minutes before slicing. It sets the texture perfectly.
Tips I’ve Learned the Hard Way (So You Don’t Have To)
- Don’t skip the xanthan gum. Without it, your bread will crumble.
- Always use warm—not hot—liquids. Hot kills the yeast.
- Let the batter rise in a warm, draft-free spot. Even your oven with the light on works great.
- Don’t overbake. Gluten-free bread can dry out fast.
How to Store Gluten-Free Bread
This bread stays soft for about 2 days at room temperature.
After that, slice it and store it in the freezer. You can toast it straight from frozen—it tastes just as good!
If you keep it in the fridge, make sure to wrap it tightly so it doesn’t dry out.
Why You’ll Love This Bread
You’ll love it because it gives you that real bread feeling—warm, soft, comforting—and you can actually enjoy it without worrying about gluten.
It’s great for breakfast, sandwiches, or just as a side with soup or pasta. The smell when it bakes? Oh, it’s the kind that makes everyone walk into the kitchen asking, “What’s that amazing smell?”
Once you make it once, I promise—you’ll never want to buy gluten-free bread again.
FAQs About Gluten-Free Bread
Q1: Can I make this bread without eggs?
Yes! Replace each egg with 1 tablespoon of chia seeds or flaxseed mixed with 3 tablespoons of water. Let it sit until it thickens before adding.
Q2: Can I use almond flour or coconut flour instead?
Not alone—they absorb too much liquid. You can use a little mixed with a gluten-free flour blend, but not as the main flour.
Q3: Why is my gluten-free bread so dense?
You might not have let it rise long enough, or your yeast was old. Always check the yeast’s expiration date.
Q4: Can I use a bread machine?
Yes! Just make sure to use the gluten-free setting if your machine has one.
Q5: How can I make it more flavorful?
Try adding herbs, garlic powder, or even a sprinkle of cheese into the batter before baking.
If you’ve been missing real bread, this gluten-free bread will bring that comfort right back to your kitchen. Once you try it, you’ll realize being gluten-free doesn’t mean missing out—it just means baking smarter.