
You know that smell when you walk into a bakery — warm, yeasty, and a little buttery? That’s what I wanted in my kitchen the day I decided to make French bread at home.
I was tired of those store-bought loaves that go stale too quickly or feel like cardboard. So, I decided to create a simple, homemade French bread recipe that anyone (even you!) can bake — no fancy tools, no chef hat needed.
Trust me, once you bake your own loaf, you’ll never look back.
Why You’ll Love This French Bread
Here’s the truth: homemade French bread is pure magic. It’s crispy on the outside, soft and airy inside, and it makes your whole home smell like heaven. I love this recipe because it doesn’t need any complicated ingredients — just flour, water, yeast, and salt.
The beauty is in its simplicity. The flavor comes from letting the dough rest and rise. That’s when the yeast works its magic, giving that deep, slightly tangy taste and fluffy texture.
You’ll love it because it’s:
- Easy (no fancy equipment required)
- Budget-friendly (made with simple pantry staples)
- Perfect for everything — sandwiches, soups, or just butter and jam
Ingredients You’ll Need
Here’s what you’ll need to make your own loaf of French bread. You probably already have most of these in your kitchen:
- 3 ½ cups all-purpose flour
- 1 ¼ cups warm water (around 110°F or slightly warm to touch)
- 2 ¼ tsp active dry yeast (1 packet)
- 2 tsp sugar
- 1 ½ tsp salt
- 1 tbsp olive oil (optional for a bit more flavor)
That’s it! Just a few humble ingredients, yet they come together to create something so special.
Step-by-Step Instructions
Step 1: Activate the Yeast
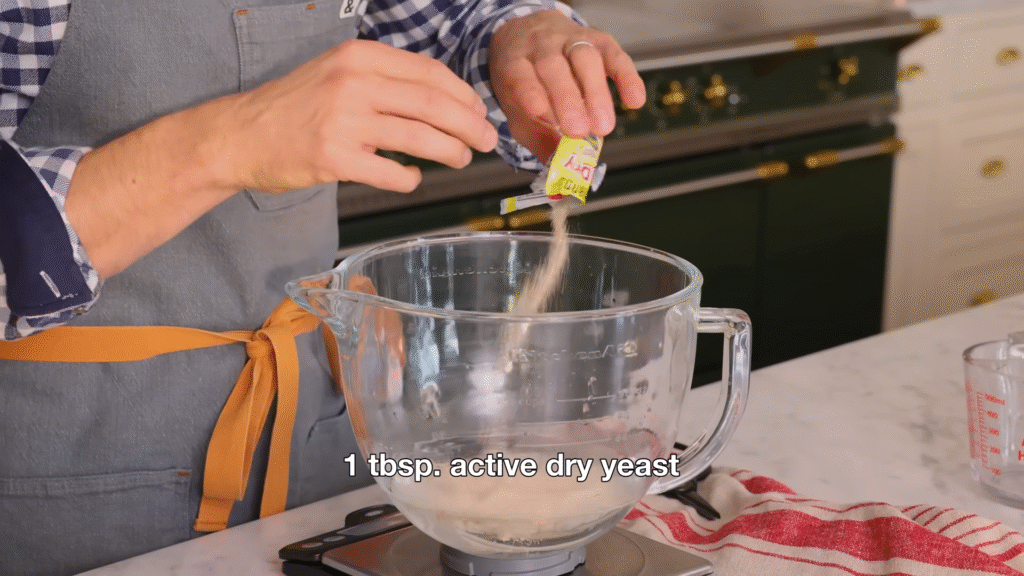
In a bowl, mix the warm water, sugar, and yeast. Let it sit for about 5–10 minutes until it becomes foamy.
This step is where the magic begins — the yeast wakes up and starts bubbling with life. If it doesn’t foam, your yeast may be expired, so it’s best to start again.
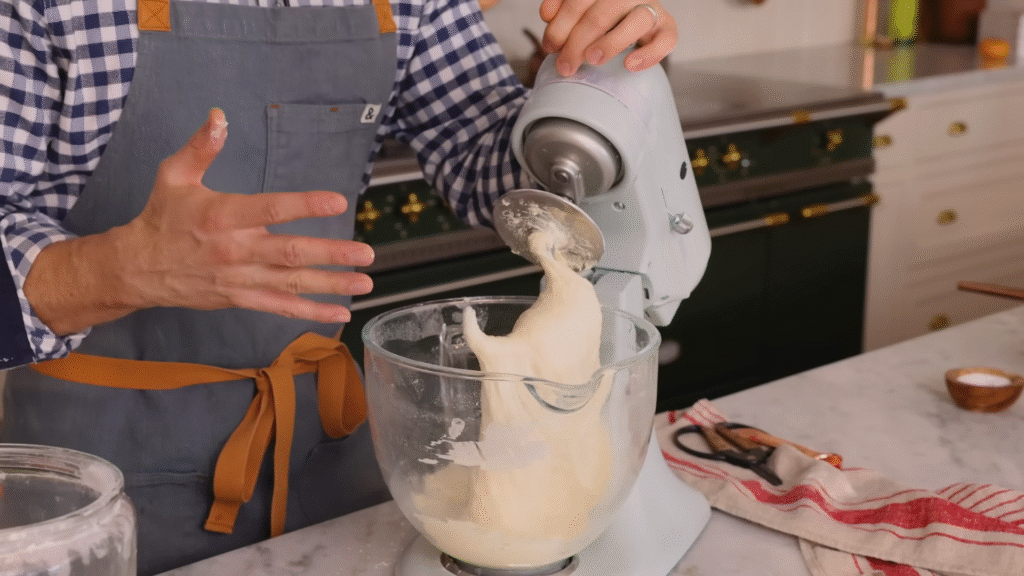
Step 2: Mix the Dough
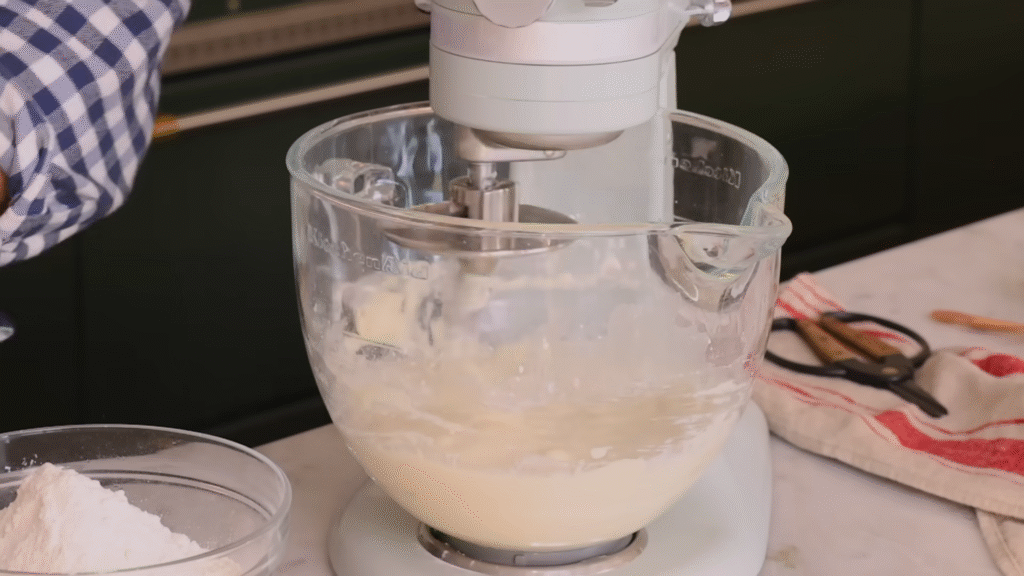
In a large mixing bowl, combine flour and salt. Then pour in the yeast mixture. Mix until it starts forming a sticky dough.
If it’s too dry, add a tablespoon of water. If it’s too wet, sprinkle a little more flour.
This part feels messy, but that’s the fun of baking. Don’t worry about perfection here — the dough will come together as you knead.
Step 3: Knead the Dough
Kneading is what gives your bread that beautiful chewy texture.
Sprinkle some flour on your counter and knead the dough for 8–10 minutes until it’s smooth and elastic.
Here’s how I test it: press your finger gently into the dough. If it bounces back — it’s ready!
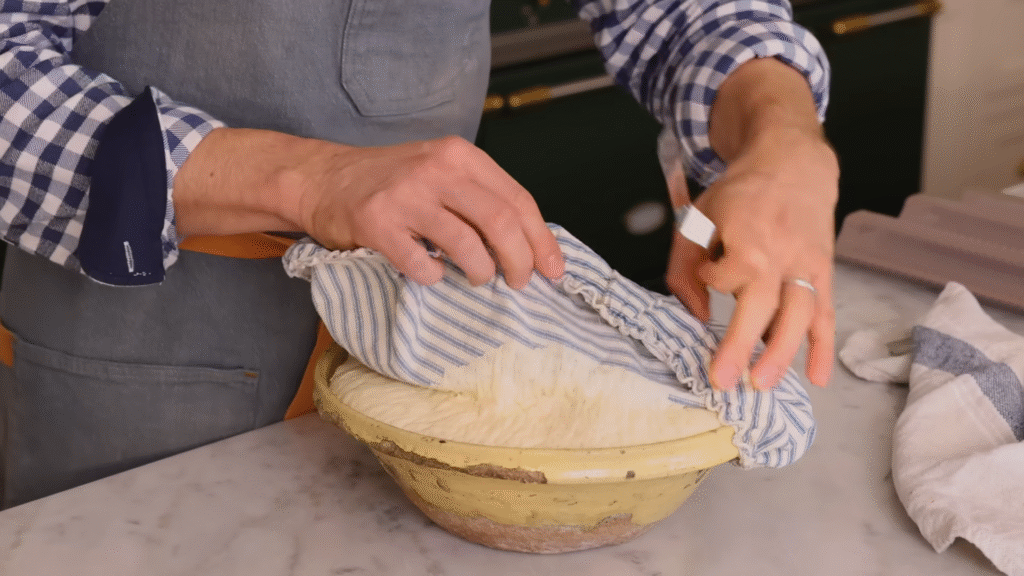
Step 4: Let It Rise
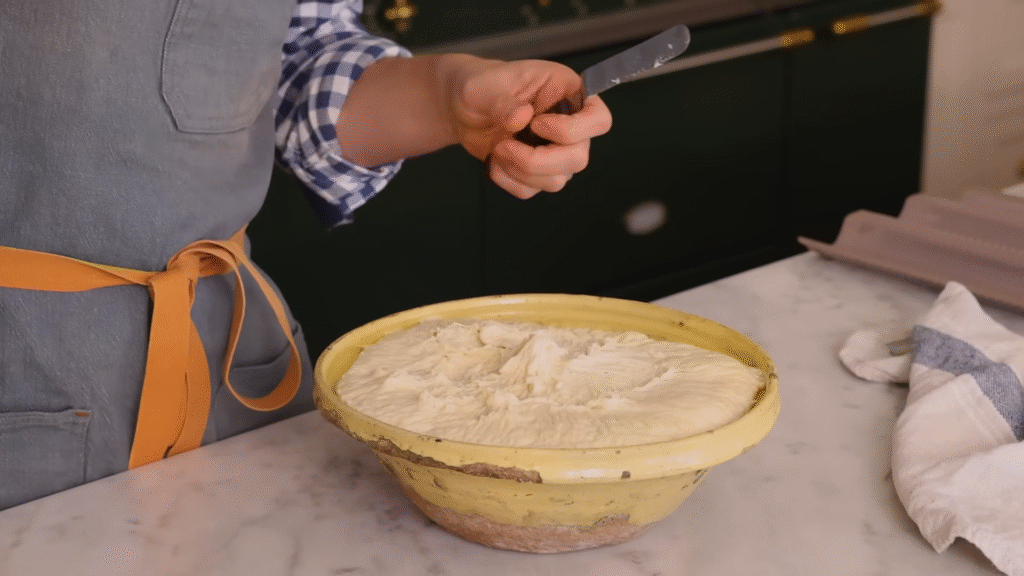
Now, place your dough in a lightly oiled bowl. Cover it with a clean towel and let it rest for 1 to 1.5 hours, or until it doubles in size.
This is where the yeast does the heavy lifting. It fills the dough with air bubbles, giving that light and soft inside texture we all love.
I usually use this time to clean up, make coffee, or scroll through some recipe ideas. It’s the perfect little break.
Step 5: Shape the Loaf
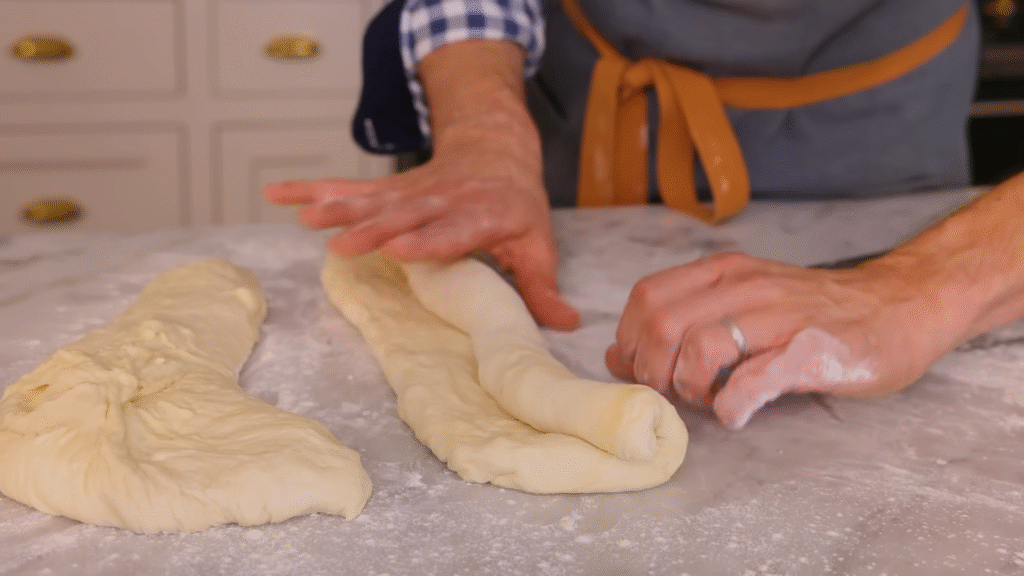
Once your dough has doubled, punch it down gently to release some air. Roll it into a rectangle, then fold and shape it into a long loaf.
Place it on a baking sheet lined with parchment paper.
Tip: For that classic French bread look, make 3–4 diagonal slashes on top using a sharp knife.
Step 6: Second Rise
Let your shaped loaf rest again for 30 minutes. This second rise helps the bread puff up even more in the oven, giving that gorgeous golden crust.
Step 7: Bake It

Preheat your oven to 400°F (200°C).
Bake your loaf for 20–25 minutes or until it’s golden brown.
Pro tip: Place a small oven-safe bowl of water on the bottom rack while baking. The steam will help create that classic crispy crust you find in bakery loaves.
When you tap the bottom of the loaf and hear a hollow sound — your bread is done!
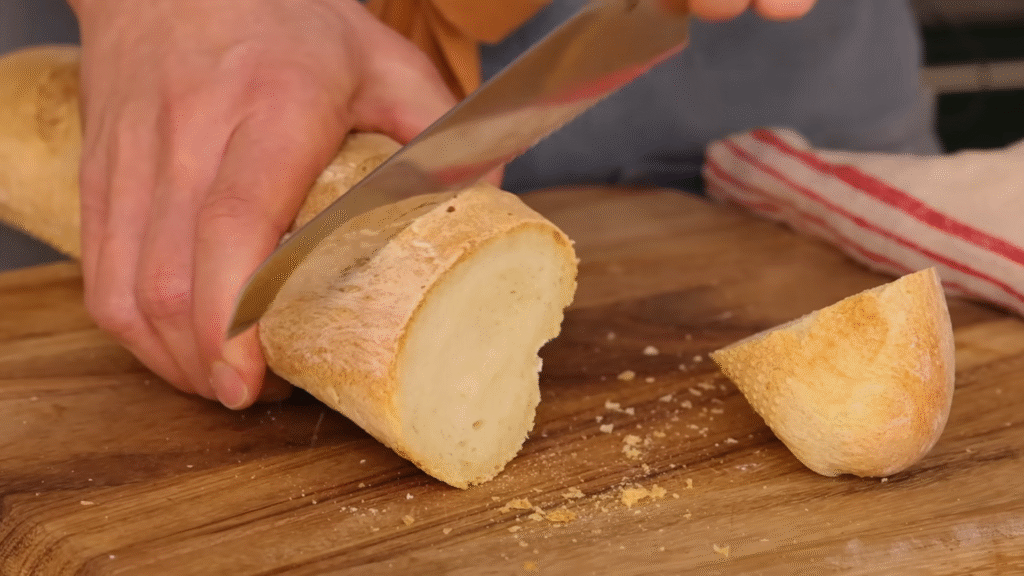
Step 8: Cool and Enjoy
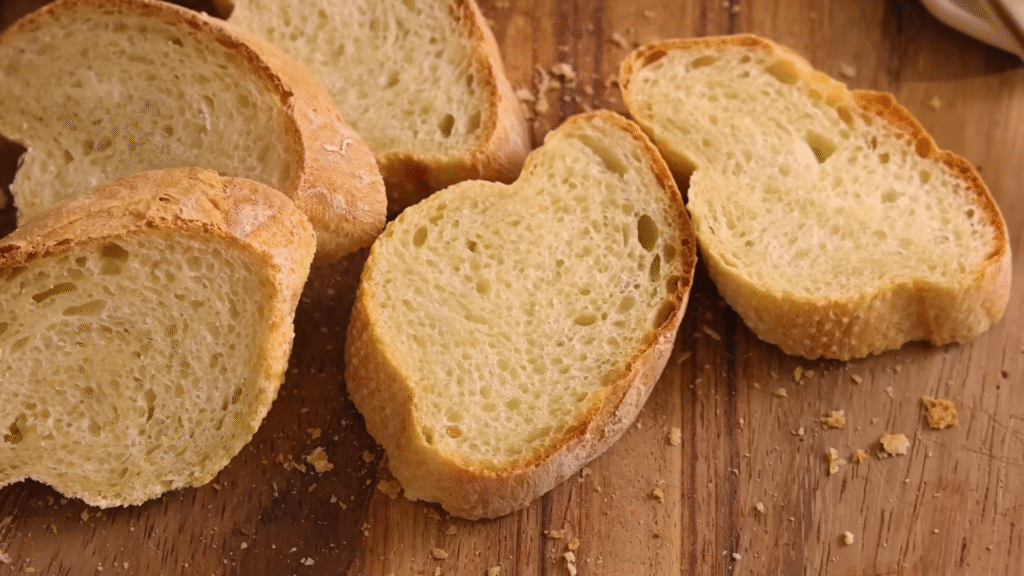
It’s tempting to slice it right away (I always struggle here), but give it 10–15 minutes to cool. This lets the texture settle and makes slicing easier.
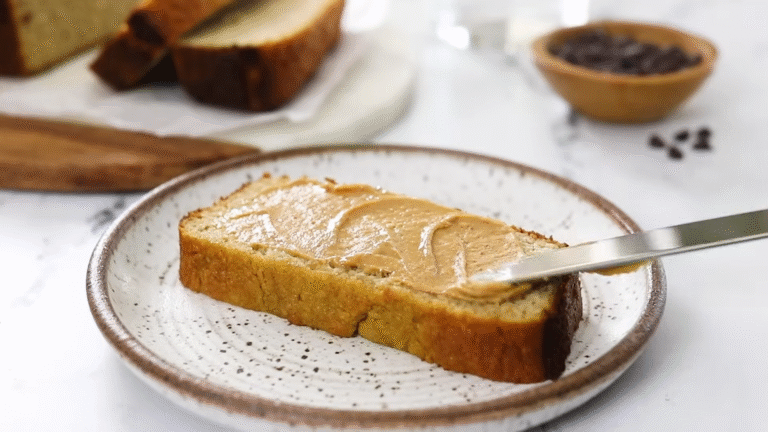
Spread some butter, dip it in olive oil, or pair it with a bowl of soup — pure joy in every bite.
My Personal Tips for Perfect French Bread
- Use warm (not hot) water — too hot can kill the yeast.
- Don’t skip the second rise — that’s where the loaf gets its light texture.
- Slash before baking — it helps the bread expand and look beautiful.
- Steam trick — place a pan of water while baking for that shiny, crackly crust.
- Store right — wrap in a clean towel or paper bag. Avoid plastic, it softens the crust.
What to Serve with French Bread
French bread is super versatile. You can use it for:
- Garlic bread – slice and brush with butter and garlic, then toast.
- Sandwiches – turkey, ham, or veggie, it all works.
- Soups – perfect for dunking into creamy soups or stews.
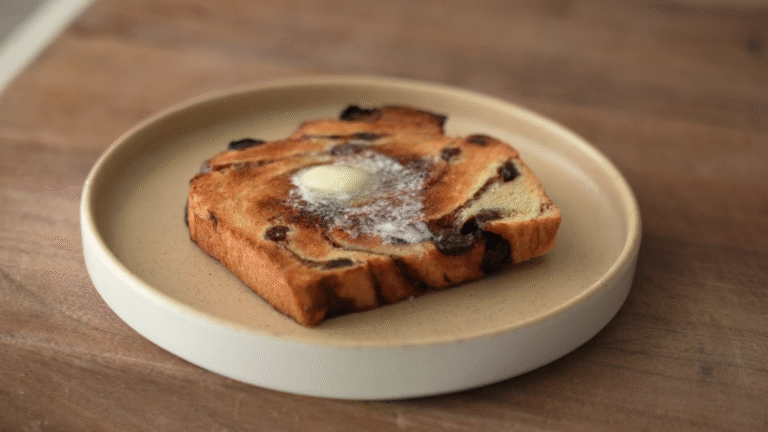
- French toast – leftover bread turns into the best breakfast treat.
Why Homemade Beats Store-Bought
Let’s be honest — once you make it yourself, store-bought just doesn’t compare.
Homemade French bread has a richer flavor, better texture, and no preservatives. You control everything, from the rise to the crust color.
Plus, that proud moment when you pull a golden loaf out of your oven — that’s unbeatable.
Troubleshooting Common Mistakes
- Bread didn’t rise? Yeast might be old or water too hot.
- Too dense? Dough wasn’t kneaded enough or skipped a rise.
- Crust too soft? Skip covering it after baking — let it cool uncovered.
- Pale color? Try brushing the loaf with an egg wash before baking.
FAQs About French Bread
1. Can I use whole wheat flour instead of all-purpose?
Yes, but the texture will be a bit denser. Try half whole wheat and half all-purpose for balance.
2. How long does French bread stay fresh?
It’s best eaten the same day, but you can store it in a paper bag for up to 2 days. Reheat in the oven for that crisp crust again.
3. Can I freeze French bread?
Absolutely! Once cooled, wrap tightly and freeze. Reheat in the oven for 10–15 minutes before serving.
4. Why do we slash the top of the loaf?
It helps the steam escape and allows the bread to expand properly while baking.
5. Can I make this bread without a mixer?
Yes! This recipe is perfect for hand kneading — no fancy equipment needed.