
You know those moments when your kitchen smells like heaven, and all you can think is, “Wow, I made this”? That’s what this homemade bread recipe is all about.
It’s simple, comforting, and makes you feel like a baking pro without breaking a sweat. I’ve made this recipe more times than I can count, and every time I pull that golden loaf from the oven, it feels like magic.
If you’ve ever wanted to bake soft, warm bread that tastes like it came straight from a bakery, this one’s for you. No complicated steps, no fancy tools — just a few pantry staples and some love.
Why You’ll Love This Homemade Bread
Here’s the thing — once you try this recipe, store-bought bread will never taste the same again.
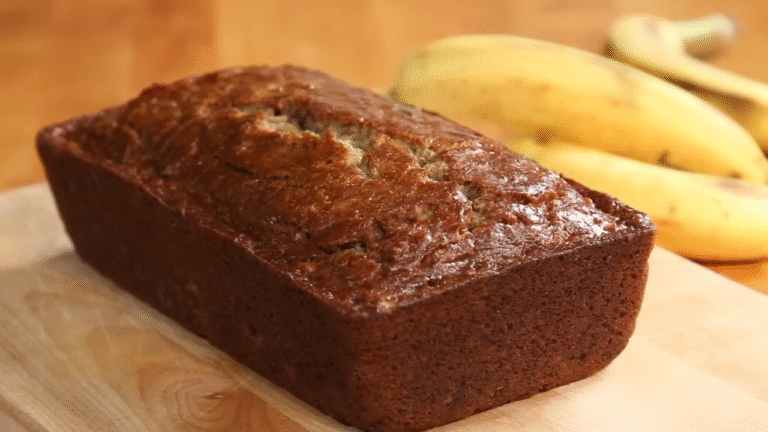
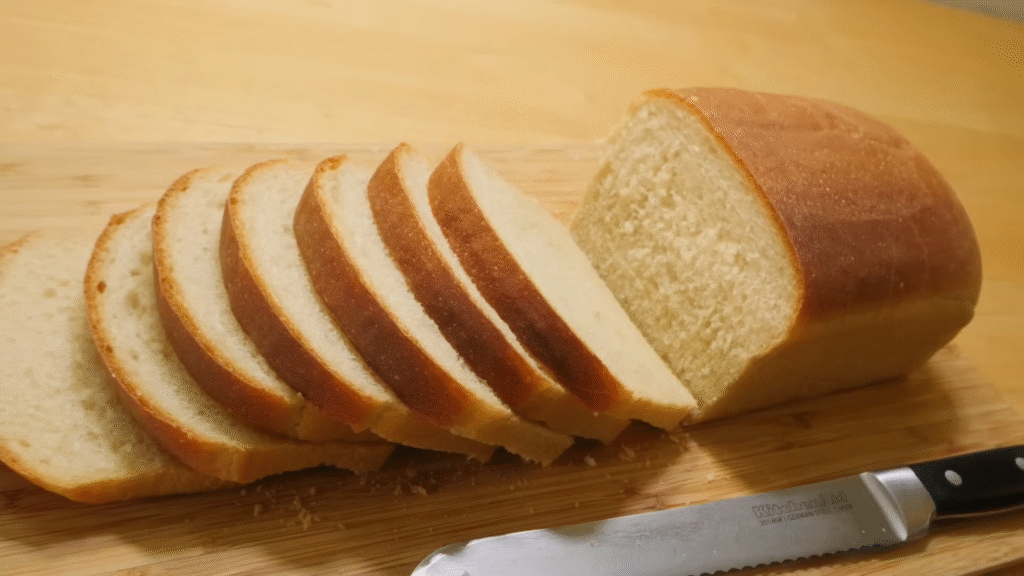
This bread is soft on the inside, golden on the outside, and has that slight buttery aroma that makes your house smell like a dream. I love how it’s versatile too — perfect for toast in the morning, sandwiches at lunch, or warm buttered slices with dinner.
And the best part? It’s fail-proof. Even if you’ve never baked bread before, you can do this. I promise.
Ingredients You’ll Need
Nothing fancy here — just a few everyday items you probably already have.
Here’s what you’ll need:
- 3 ¼ cups all-purpose flour
- 1 packet (2 ¼ tsp) active dry yeast
- 1 cup warm water (not hot!)
- 2 tbsp sugar
- 2 tbsp butter (softened)
- 1 tsp salt
That’s it. Simple, right?
Quick Tip:
Make sure your water is warm, not boiling. It should feel like a warm bath — around 100–110°F (37–43°C). Too hot, and you’ll kill the yeast; too cold, and it won’t activate.
Step-by-Step Instructions
Let’s get to the fun part — baking!
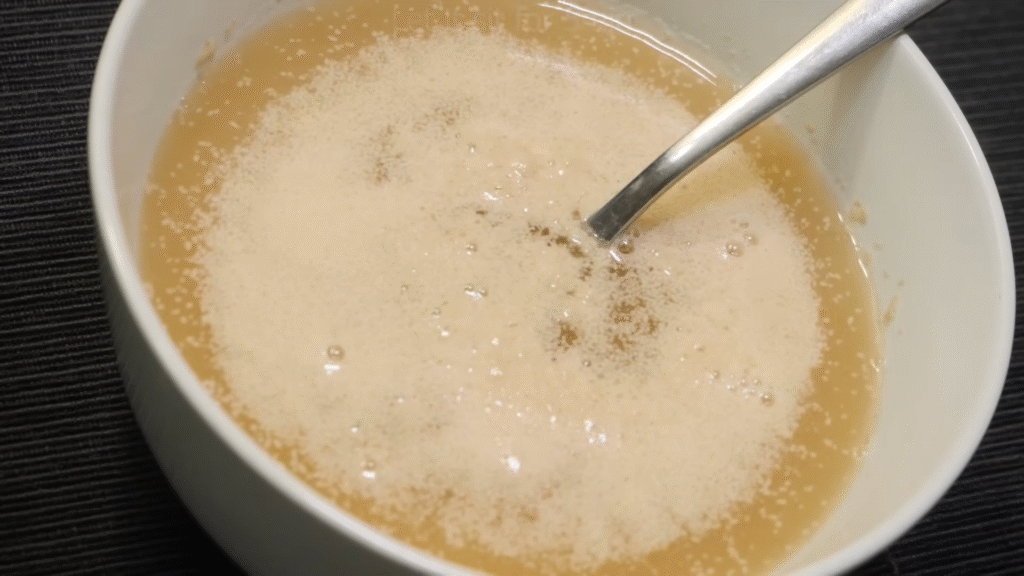
Step 1: Activate the Yeast

In a large bowl, mix the warm water, sugar, and yeast. Stir it gently and let it sit for about 5–10 minutes until it becomes frothy. That foam means the yeast is alive and ready to go.
This step always makes me feel like a scientist waiting for a cool reaction.
Step 2: Add Butter and Salt
Once your yeast is bubbly, stir in the butter and salt. This adds flavor and gives the bread its soft texture.
Step 3: Mix in the Flour
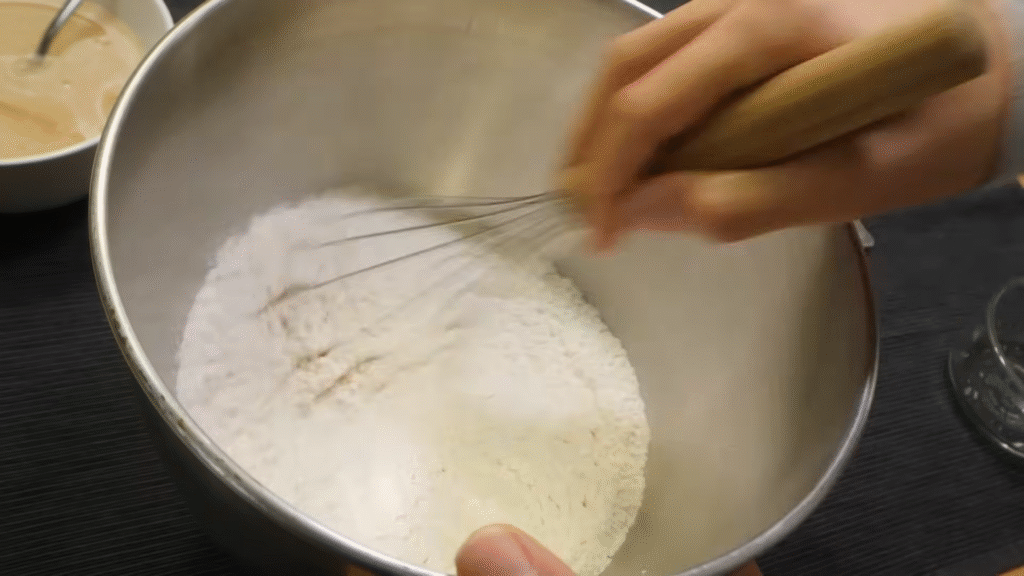
Gradually add flour, one cup at a time, mixing until the dough starts coming together. When it’s too thick to stir, switch to using your hands.
You’ll want to knead the dough for about 6–8 minutes — just until it’s smooth and springy. It should feel slightly tacky but not sticky.
If you’re kneading by hand, here’s my trick: put on your favorite song, and by the time it ends, your dough will probably be ready!
Step 4: Let It Rise
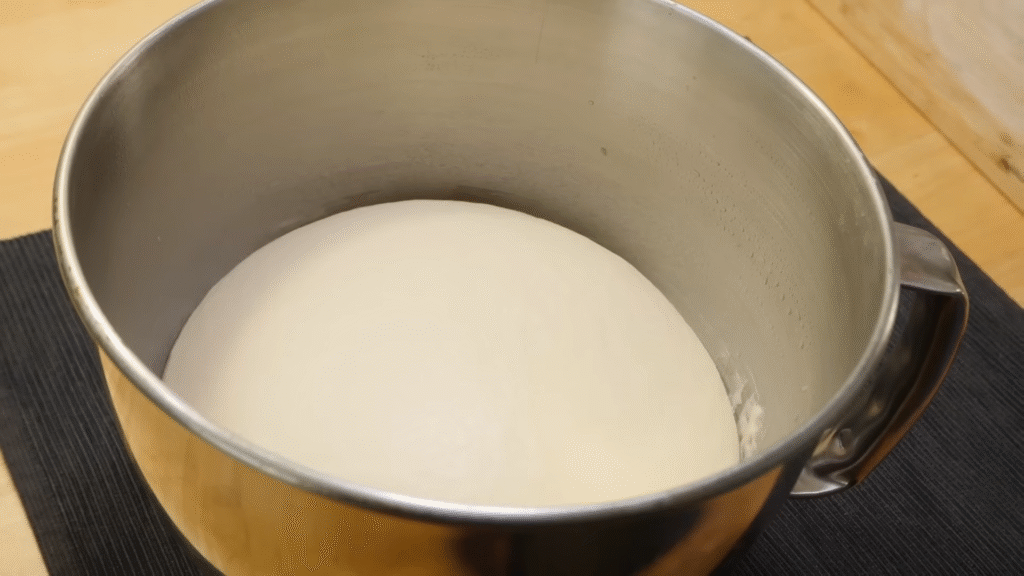
Place your dough in a greased bowl, cover it with a clean towel, and let it rise in a warm spot for 1 hour, or until it doubles in size.
Watching dough rise is oddly satisfying — like a little cloud puffing up before your eyes.
Step 5: Shape the Loaf

Once it’s doubled, punch it down (yes, literally give it a soft punch!) to release the air. Then shape it into a loaf and place it into a greased loaf pan.
Step 6: Second Rise
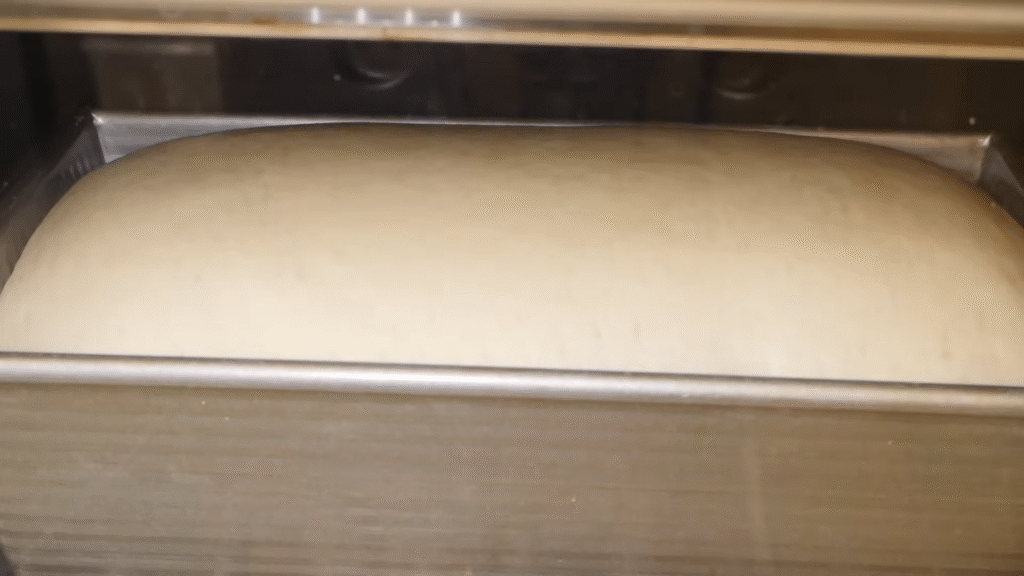
Cover again and let it rise for another 30 minutes. This second rise helps make the bread extra fluffy.
Step 7: Bake!
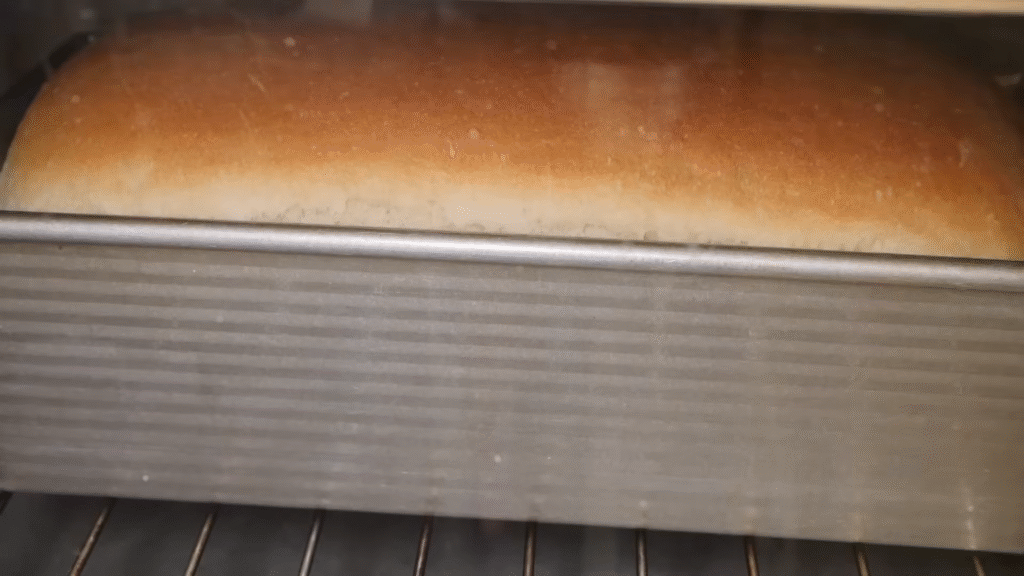
Preheat your oven to 375°F (190°C). Bake the loaf for about 25–30 minutes, until the top turns golden brown.
When it’s done, the bread should sound hollow when you tap it on the bottom. Let it cool slightly before slicing — if you can wait, that is!
How to Store Your Homemade Bread
If your house is anything like mine, the loaf might not last the day. But if you do manage to save some:
- Room temperature: Store in an airtight bag or container for up to 3 days.
- Freezer: Wrap in foil and freeze for up to 2 months. Just thaw and warm it up when needed.
Avoid the fridge — it tends to dry the bread out.
Why Homemade Bread Is Worth It
Here’s why I keep making this recipe again and again:
Homemade bread isn’t just food — it’s comfort. It’s the smell that fills your home, the satisfaction of slicing into something you made from scratch, and that first warm bite that melts with butter.
Plus, you control everything — no preservatives, no weird ingredients, just pure, fresh bread. It’s one of those small joys that makes a big difference in your day.
Fun Variations to Try
Once you’ve nailed this base recipe, play around with it!
- Garlic Herb Bread: Add 1 tbsp minced garlic and 1 tsp Italian herbs.
- Honey Wheat Bread: Replace 1 cup of flour with whole wheat and add 2 tbsp honey.
- Cheesy Bread: Mix in ½ cup shredded cheddar before shaping the loaf.
Experiment — you’ll find your favorite twist before you know it.
Tips for Perfect Bread Every Time
Here’s what I’ve learned after many (many) loaves:
- Don’t rush the rise. Letting the dough rest is key to fluffy bread.
- Check your yeast. If it doesn’t foam, toss it — old yeast won’t rise.
- Knead well. This builds gluten and gives that perfect chewy texture.
- Use the right pan. A metal loaf pan gives the best golden crust.
- Let it cool before cutting. I know, it’s hard — but it keeps the slices neat.
Serving Ideas
Honestly, this bread goes with everything.
- Freshly toasted with butter and jam in the morning.
- As sandwich bread for lunch — try turkey, lettuce, and cheese!
- Alongside soups, stews, or pasta for dinner.
And if you’re feeling fancy, drizzle a bit of olive oil and sprinkle some sea salt — instant gourmet vibes.
FAQs About Homemade Bread
Q: Can I use instant yeast instead of active dry yeast?
Yes! You can use the same amount. Skip the proofing step and mix it directly with the flour.
Q: My dough didn’t rise — what went wrong?
Your water might’ve been too hot (killing the yeast) or too cold (not activating it). Always aim for warm, not hot.
Q: Can I make this without a loaf pan?
Definitely. Shape it into a round loaf and bake it on a baking sheet — it’ll still be delicious.
Q: How do I know when it’s done baking?
Tap the bottom — if it sounds hollow, it’s ready. You can also check with a thermometer (190°F internal temperature).
Q: Can I add seeds or nuts?
Of course! Sunflower seeds, flaxseeds, or chopped nuts add amazing texture and flavor.
Final Thoughts
This easy homemade bread recipe is more than just a kitchen project — it’s a small act of joy. Once you bake your first loaf, you’ll realize how simple and rewarding it is.
There’s something deeply satisfying about watching simple ingredients come together into something so warm, golden, and comforting.
So go ahead — tie that apron, preheat that oven, and let’s make your home smell like a bakery.
Trust me, once you taste this bread fresh from your oven, there’s no going back.