If you’ve ever bitten into a dessert that made you pause mid-bite, hum to yourself, and close your eyes for a second, you know the magic of berry crumble bars.
They’re that perfect cross between a pie and a cookie—sweet, buttery, a little tangy, and just crumbly enough to keep you coming back for one more square. And the best part? They’re simple to make, forgiving in the kitchen, and versatile enough to dress up for dinner parties or keep casual for everyday snacking.
I’ll walk you through not only how to make them but also how to tweak them, store them, and make them fit your life. Think of this as your ultimate kitchen guide to berry crumble bars—because once you try them, they’re going to be a staple in your baking rotation.
Why Berry Crumble Bars Are So Irresistible
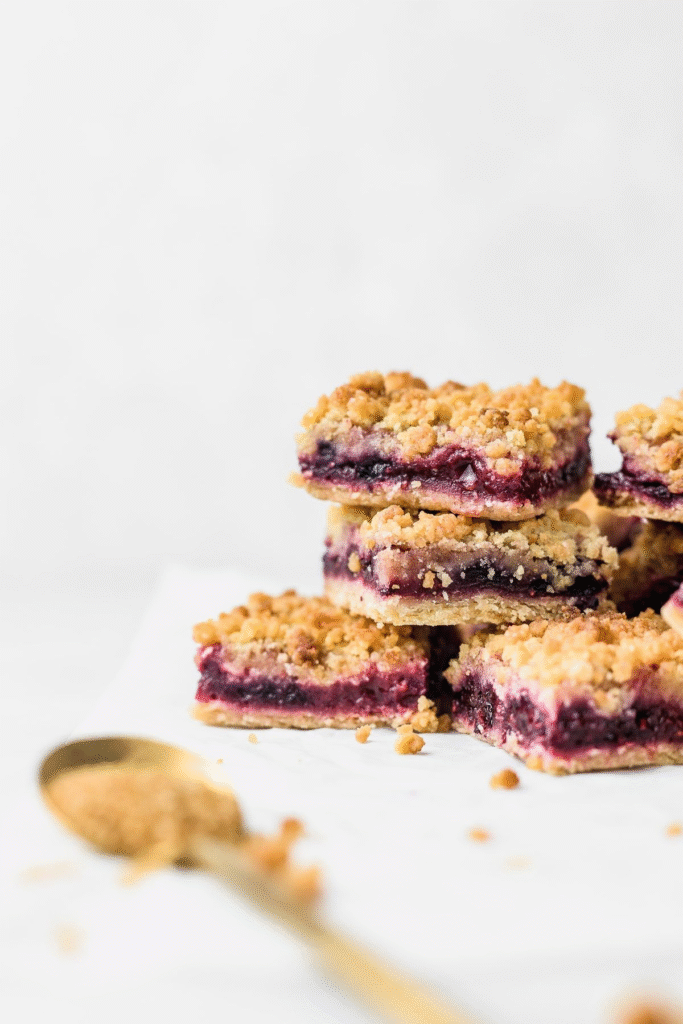
Let’s start with the obvious question: what makes these bars so good that people can’t stop nibbling at them? The answer lies in their texture trifecta—a soft base, juicy berry filling, and a golden, crunchy crumble topping.
Here’s the breakdown:
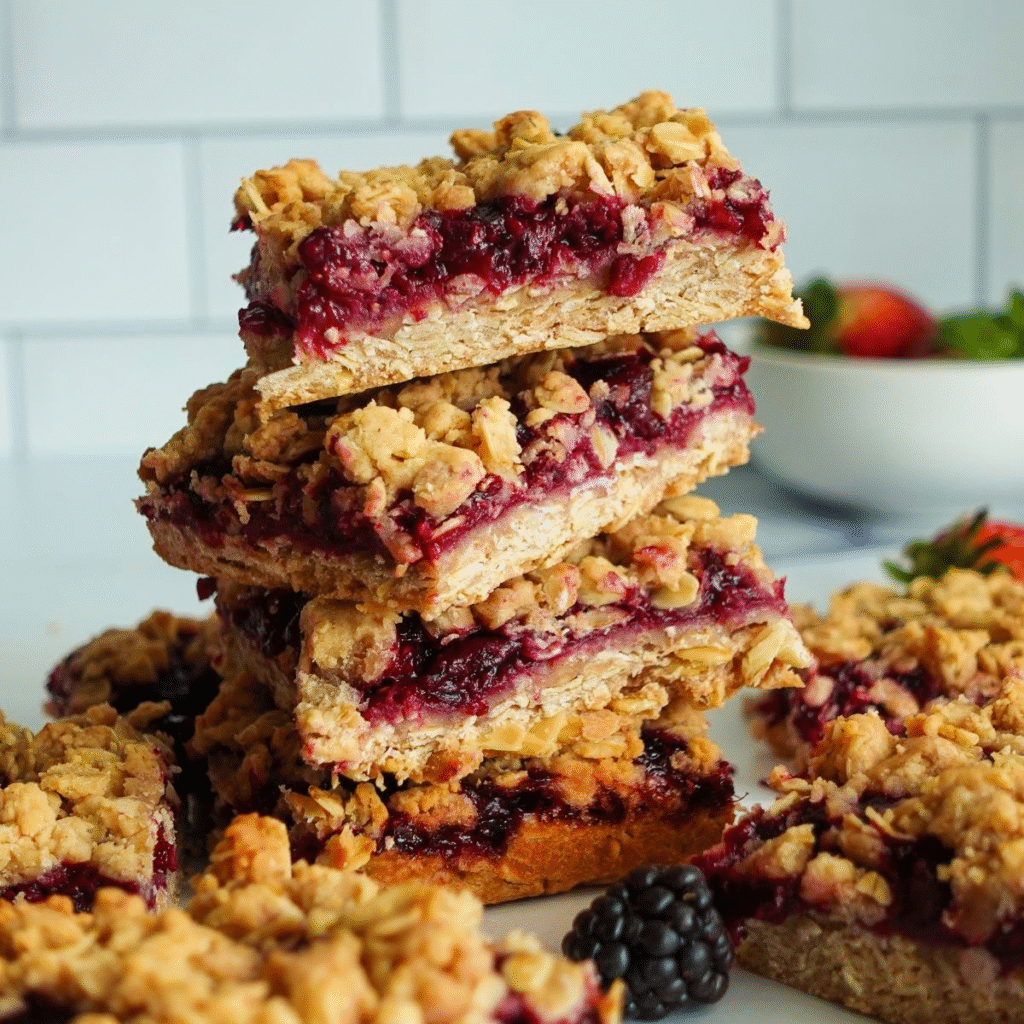
- The base: A buttery shortbread-like layer that holds everything together. It’s firm enough to slice but tender enough to melt in your mouth.
- The filling: Sweet, tart, jammy berries that cook down just enough in the oven. It’s like a pie filling but lighter and fresher.
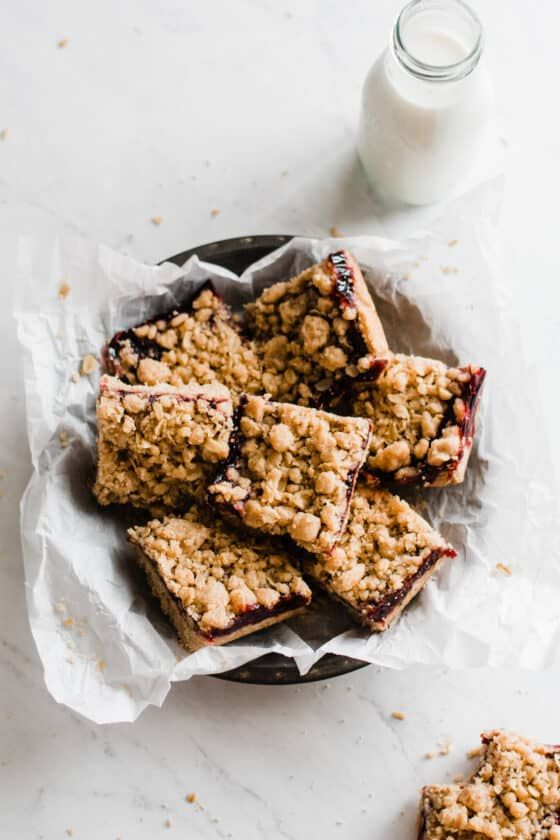
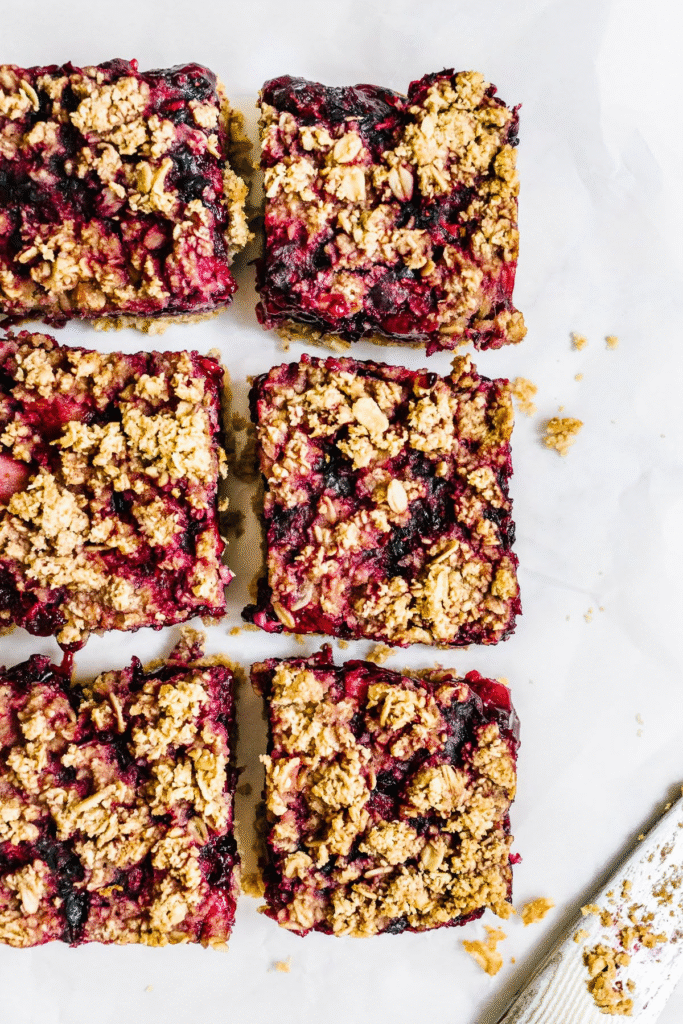
- The crumble: A mix of flour, sugar, butter, and oats (sometimes nuts) that crisps up beautifully in the oven and adds that satisfying crunch.
It’s no wonder berry crumble bars are a hit at potlucks and family gatherings. According to Nielsen’s 2023 U.S. baking trends report, fruit-based desserts still rank among the top five most requested homemade sweet treats, right up there with chocolate chip cookies and banana bread. People love the balance of sweet and tart, and berry desserts tick all the boxes.
The Essential Ingredients You’ll Need
The beauty of berry crumble bars is that you don’t need anything fancy to pull them off. Most of these ingredients are pantry and fridge staples.
For the base and crumble topping:
- All-purpose flour – the backbone of structure.
- Granulated sugar – sweetness in the base, but also caramelization for that golden crust.
- Brown sugar – adds moisture and a caramel note to the crumble.
- Butter – cold, unsalted butter cut into cubes is non-negotiable here; it’s what gives you that tender base and crunchy top.
- Oats (optional but recommended) – for extra chewiness and texture.
- Salt – a pinch goes a long way to balance all the sweetness.
For the berry filling:
- Fresh or frozen berries – blueberries, raspberries, blackberries, strawberries, or a mix. Frozen works perfectly; just don’t thaw them beforehand.
- Lemon juice & zest – to brighten the flavor.
- Sugar – adjusts depending on how sweet or tart your berries are.
- Cornstarch or flour – thickens the filling so it doesn’t run everywhere.
A quick anecdote: I once tried making berry crumble bars without cornstarch (rookie mistake), and the result looked like a lava flow of blueberry juice running across the baking dish. Still tasty, but impossible to cut into neat bars. Learn from my mess—cornstarch is your friend.
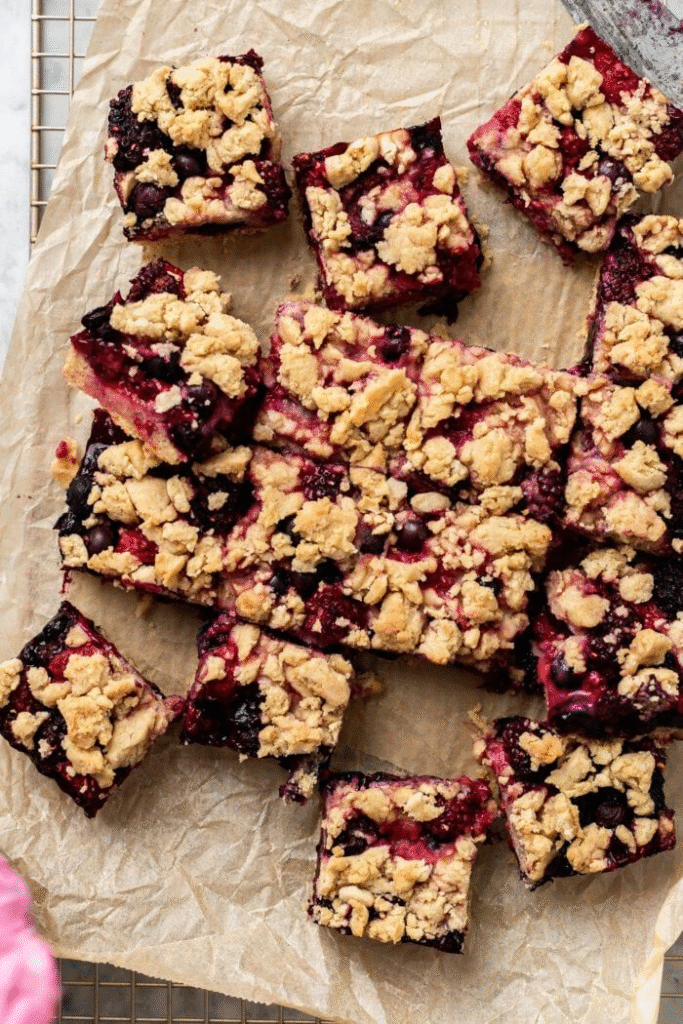
Step-by-Step: How to Make Berry Crumble Bars
Now let’s get down to it. Here’s how you make them from scratch in about an hour.
Step 1: Preheat and prep
Set your oven to 350°F (175°C) and line a baking pan (usually 8×8 or 9×9 inches) with parchment paper. This makes cleanup easier and ensures you can lift the bars out without breaking them.
Step 2: Make the base
In a bowl, whisk together flour, sugar, and salt. Cut in the butter using a pastry cutter, fork, or even your fingers until the mixture resembles coarse crumbs. Press two-thirds of this mixture firmly into the bottom of your baking pan to create a solid base.
Step 3: Mix the berry filling
Toss your berries with sugar, lemon juice, zest, and cornstarch. This will give you a glossy mixture that thickens up beautifully as it bakes. Spread it evenly over the base.
Step 4: Add the crumble topping
Take the remaining dough mixture, stir in the oats (and nuts if you’re using them), and sprinkle it over the berry layer. Don’t worry about perfection—the rustic, uneven topping is part of the charm.
Step 5: Bake
Pop it into the oven for 35–40 minutes, or until the top is golden brown and the berry filling is bubbling around the edges. Let it cool completely before cutting (this part tests your patience, but it’s worth it).
Why Cooling Is Crucial
I know what you’re thinking—“I want to dig in now.” Trust me, I’ve been there, fork in hand hovering over a hot pan. But here’s the thing: cooling is essential.
When the bars come out of the oven, the filling is still molten, and the base hasn’t set fully. If you cut them too early, you’ll get a delicious but gooey mess. Letting them cool (even refrigerating for an hour) ensures clean slices that hold their shape.
Think of it like waiting for glue to dry—you want everything to firm up before you test its strength.
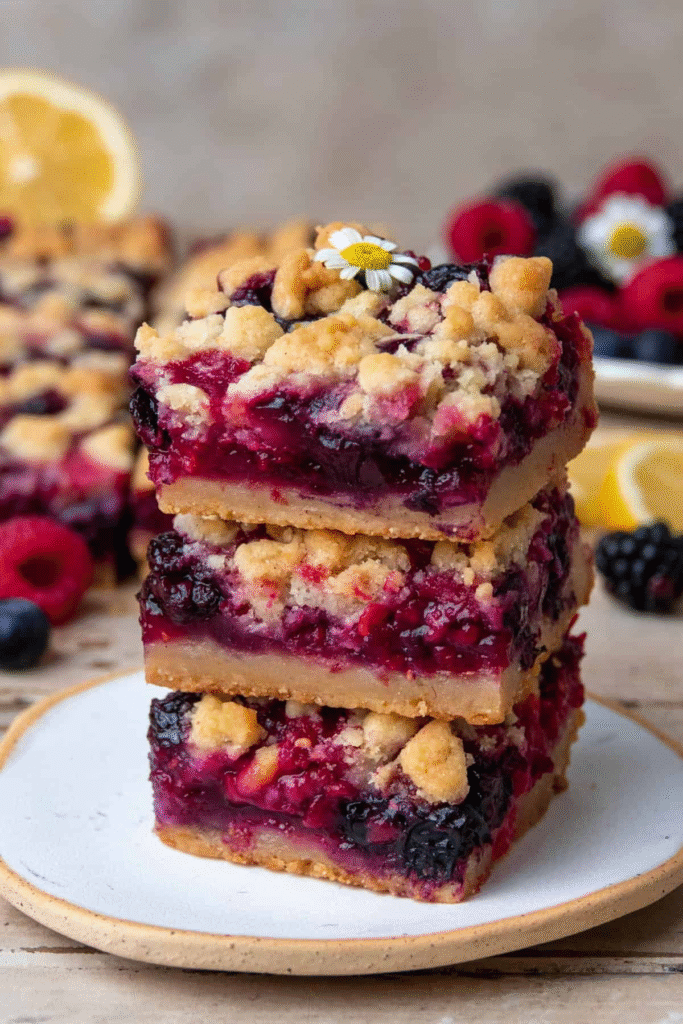
The Best Berry Combinations
The great thing about this recipe is how flexible it is. You can make it year-round with whatever berries you have on hand.
- Blueberry + Lemon: Bright, sweet, and classic.
- Strawberry + Rhubarb: A little old-fashioned and beautifully tart.
- Raspberry + Blackberry: Bold, tangy, and jewel-colored.
- Mixed Berry: A crowd-pleaser that balances sweetness and acidity.
Pro tip: If you’re using strawberries, slice them small, because they release more water than other berries.
Fun fact—according to the U.S. Department of Agriculture, Americans eat around 1.5 billion pounds of strawberries annually. So don’t feel bad if strawberry crumble bars are your go-to. You’re not alone.
How to Make Them Healthier (Without Losing Flavor)
I get it—you want something sweet but not overloaded with sugar or fat. Luckily, there are simple swaps to make your berry crumble bars lighter without compromising on taste.
- Replace half the flour with whole wheat flour for extra fiber.
- Use coconut sugar or maple syrup instead of refined sugar.
- Swap half the butter with Greek yogurt for moisture and protein.
- Add chia seeds to the berry filling for natural thickening and omega-3s.
The result? A bar that still feels indulgent but doesn’t weigh you down.
Storing and Freezing Tips
Berry crumble bars are surprisingly sturdy when it comes to storage.
- Room temperature: In an airtight container, they’ll last 2–3 days.
- Refrigerator: Keeps them fresh up to a week.
- Freezer: Wrap individual bars tightly, and they’ll keep for 2–3 months. Just thaw at room temp or microwave briefly before eating.
Here’s my personal trick: I freeze them in parchment-lined layers inside a container, so I can grab one or two without thawing the whole batch. Midnight snack problems, solved.
Serving Ideas to Elevate Berry Crumble Bars
Sure, you can eat them straight from the pan (and I often do). But if you want to take them up a notch:
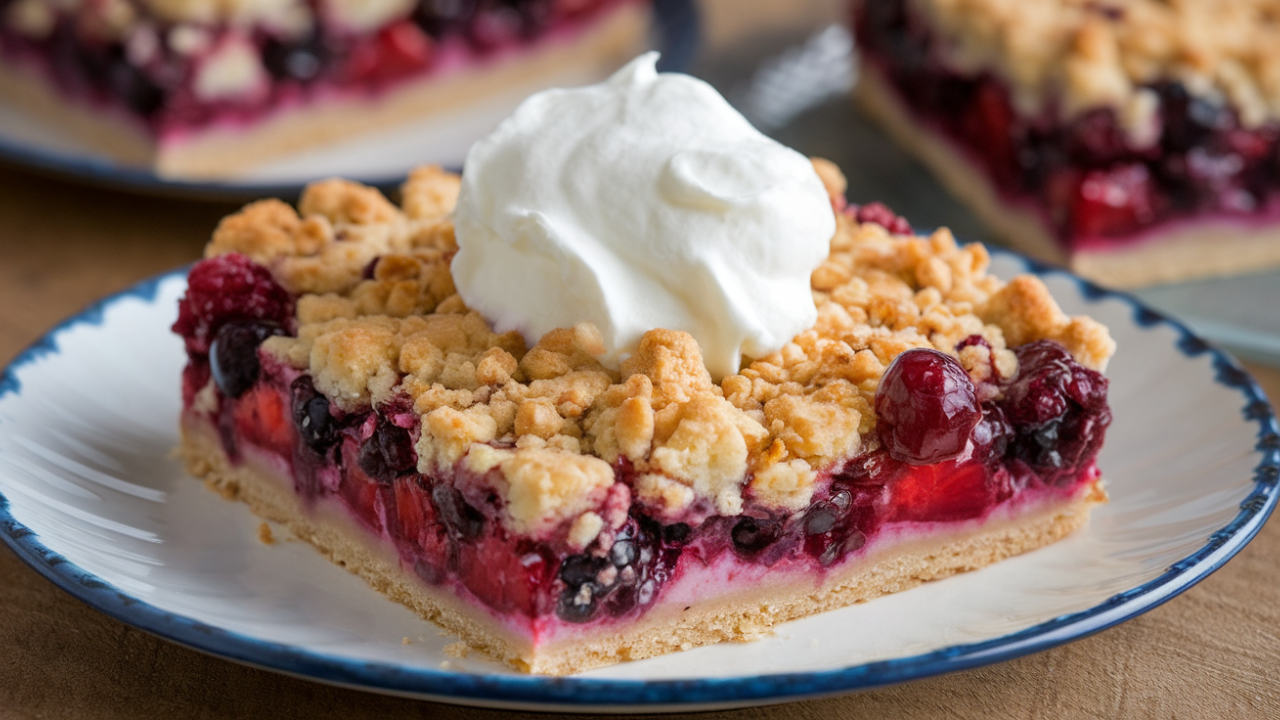
- Warm them up and add a scoop of vanilla ice cream.
- Drizzle with white chocolate for extra decadence.
- Serve with a dollop of whipped cream or Greek yogurt.
- Sprinkle with powdered sugar before serving for a bakery-style look.
I once served these at a brunch with a drizzle of lemon glaze, and they disappeared faster than the coffee. People love a little extra touch.
Common Mistakes and How to Avoid Them
Let’s be real—we’ve all had kitchen fails. Here are the top mistakes I’ve seen (and made) with berry crumble bars:
- Using too much filling – This makes them soggy. Stick to about 3–4 cups of berries max.
- Not enough thickener – Always use cornstarch or flour in the filling. Otherwise, you’ll end up with a soupy mess.
- Cutting too soon – Patience is key. Let them cool.
- Skipping the parchment paper – Makes a world of difference when lifting bars out neatly.
- Overmixing the crumble – You want it crumbly, not dough-like.
Why You’ll Keep Coming Back to This Recipe
Berry crumble bars are the kind of recipe that sticks with you. They’re easy enough for a weekday bake but impressive enough for guests. They freeze well, adapt to whatever fruit you have, and always hit that sweet spot between dessert and snack.
More importantly, they remind you that baking doesn’t have to be complicated to be delicious. With a few ingredients, a little patience, and a hungry crowd, you’ve got a dessert that makes everyone happy.
So next time you’re staring at a pile of berries on your counter, don’t overthink it. Make these bars, let them cool (seriously, don’t skip this step), and enjoy the kind of dessert that tastes like a hug in square form.