If you’ve ever found yourself staring at a mountain of ripe tomatoes from the garden or farmers’ market and thought, That’s exactly where canning tomatoes comes in, a tradition that’s been passed down through generations not just to preserve food but also to preserve flavor, money, and a sense of accomplishment.
I remember the first time I tried canning tomatoes. My kitchen looked like a tomato massacre had taken place—splashes on the walls, red-stained hands, and jars lined up like little soldiers waiting to be filled.
If you’re just starting out, don’t worry. This guide will walk you through everything—from choosing the right tomatoes to canning methods, safety rules, and even flavor tips—so you can confidently turn fresh tomatoes into pantry gold.
Why Canning Tomatoes is Worth Your Time
Let’s be real: canning tomatoes isn’t exactly as simple as tossing them into a freezer bag. It takes effort—peeling, boiling, sanitizing jars—but it pays off big time.
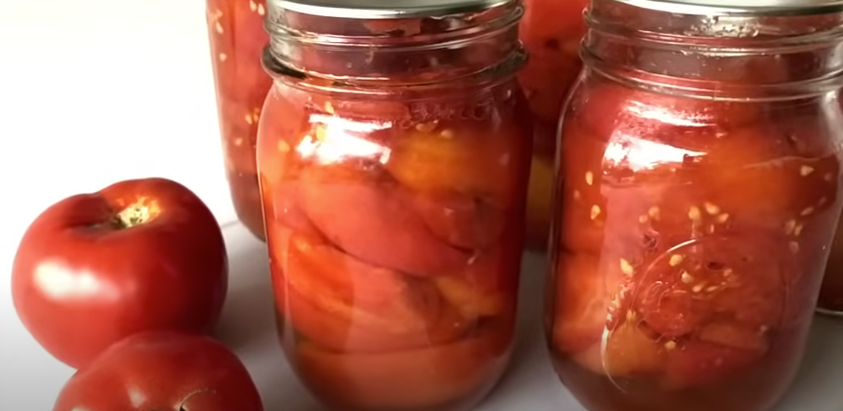
- Saves money: According to USDA estimates, the average American family spends around $70–$100 a month on tomato-based products like sauces, diced tomatoes, or soups. With canning, you can cut that cost by nearly half if you grow your own or buy in bulk during peak season.
- Flavor control: Store-bought canned tomatoes often come with preservatives, added salt, or even citric acid that alters the taste. Home-canned versions let you control every ingredient.
- Sustainability: Instead of contributing to endless tin cans in landfills, you’re reusing glass jars for years.
- Convenience: When you’ve got a jar ready to go, whipping up spaghetti sauce, chili, or a quick stew feels effortless.
For me, the biggest reward isn’t just the savings—it’s the taste. Opening a jar of your own tomatoes in January feels like cheating winter with a spoonful of July.
Choosing the Best Tomatoes for Canning
Here’s the first secret most beginners don’t know: not all tomatoes are created equal when it comes to canning.

Paste Tomatoes (Best Choice)
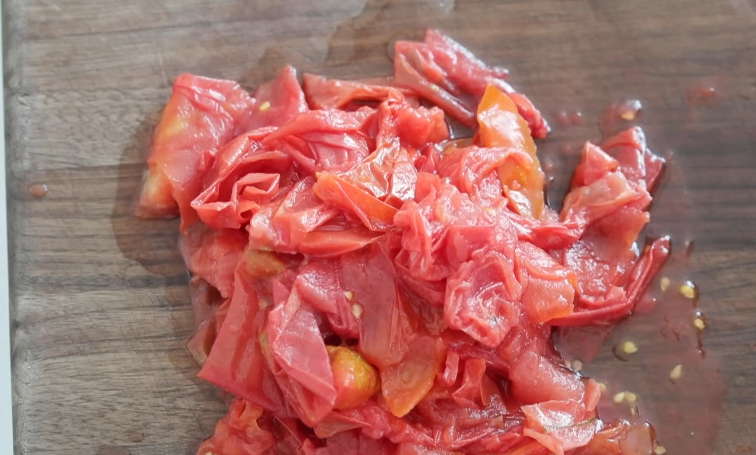
These are the MVPs of canning. Varieties like Roma, San Marzano, and Amish Paste have fewer seeds, thicker flesh, and lower water content. Translation: less boiling, thicker sauces, and richer flavor.
Slicing Tomatoes (Okay in a Pinch)
Your big juicy beefsteaks are great for sandwiches but less efficient for canning. They’re watery, which means you’ll need to cook them down longer. Still, if you’ve got an overflow, they can absolutely be canned.
Cherry Tomatoes (Extra Work, Worth It)
Canning cherry tomatoes is possible, but peeling each one can test your patience. If you do, they’re sweet little flavor bombs. I usually roast them first, then can for a smoky twist.
Pro Tip: Always pick tomatoes at peak ripeness—bright red, firm but not hard, and free from bruises or cracks. Overripe or damaged tomatoes can affect both flavor and safety.
Essential Tools You’ll Need
When I first tried canning, I didn’t realize half the battle was having the right gear. I ended up fishing jars out of boiling water with tongs—and let’s just say my fingertips weren’t thrilled. Don’t repeat my mistakes.
Here’s your basic canning toolkit:
- Canning jars with new lids and bands: Mason jars are standard. Always use new lids to ensure a good seal.
- Large stockpot or water bath canner: For boiling jars to seal them safely.
- Jar lifter: A lifesaver (literally) for pulling hot jars out of boiling water.
- Wide-mouth funnel: Keeps spills and mess to a minimum when filling jars.
- Bubble remover or chopstick: To release trapped air inside jars.
- Clean kitchen towels: For wiping rims before sealing.
These are the bare essentials. Once you get hooked (and you will), you might upgrade to pressure canners or specialized racks. But for now, a basic setup gets the job done.
Water Bath vs. Pressure Canning
This is where beginners often get nervous. Which method should you use? Let me break it down in plain English.
Water Bath Canning (Great for Beginners)
This method is essentially boiling jars of food in a big pot of water. It works perfectly for high-acid foods like tomatoes (especially when you add lemon juice or vinegar). Most beginners start here because it’s simple, cheap, and less intimidating.
Pressure Canning (Advanced, For Low-Acid Foods)
If you ever want to can green beans, meats, or soups, you’ll need a pressure canner. It reaches higher temperatures to kill bacteria that boiling water alone can’t.
For tomatoes, both methods work, but you MUST acidify them (more on that below). Personally, I stick with water bath canning for tomatoes—it’s easier, and the results are fantastic.
The Importance of Acidity in Tomato Canning
This isn’t just a science nerd detail—it’s a safety rule. Tomatoes ride the line between high- and low-acid foods. To make sure harmful bacteria (like botulism) can’t grow, you need to add acid.
The USDA recommends:
- 2 tablespoons bottled lemon juice per quart jar
- Or ½ teaspoon citric acid per quart jar
I know bottled lemon juice doesn’t sound as romantic as fresh-squeezed, but it’s important because bottled has consistent acidity. Fresh lemons vary too much.
Think of this step as your invisible shield against foodborne villains.
Step-by-Step Guide to Canning Tomatoes
Alright, apron on. Let’s walk through the actual process. I’ll describe it the way I wish someone had told me the first time.
Step 1: Prep the Jars
Wash jars, lids, and bands in hot, soapy water. Keep jars warm (either in simmering water or a dishwasher on heated dry) until ready to use. This prevents them from cracking when filled with hot tomatoes.
Step 2: Blanch and Peel Tomatoes
- Boil a large pot of water.
- Score a small “X” on the bottom of each tomato.
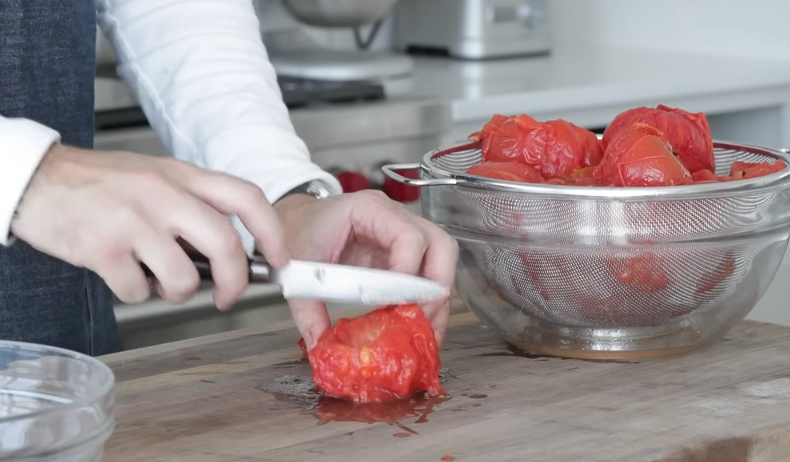
- Drop tomatoes in boiling water for 30–60 seconds.
- Immediately plunge them into an ice bath.
- Skins should peel off easily.
Yes, it’s a bit tedious, but trust me, the texture of your canned tomatoes will thank you.
Step 3: Core and Cut
Remove the tough stem ends. You can leave tomatoes whole, halved, or crushed depending on how you’ll use them later.
Step 4: Fill the Jars
- Add 2 tablespoons lemon juice (or citric acid).
- Pack tomatoes in, pressing down to release juices.
- Leave about ½ inch of headspace at the top.
- Add salt if you like (½ teaspoon per quart).
Step 5: Remove Air Bubbles
Slide a bubble remover or chopstick down the sides to release trapped air pockets. Top off with extra juice if needed.
Step 6: Wipe, Lid, and Seal
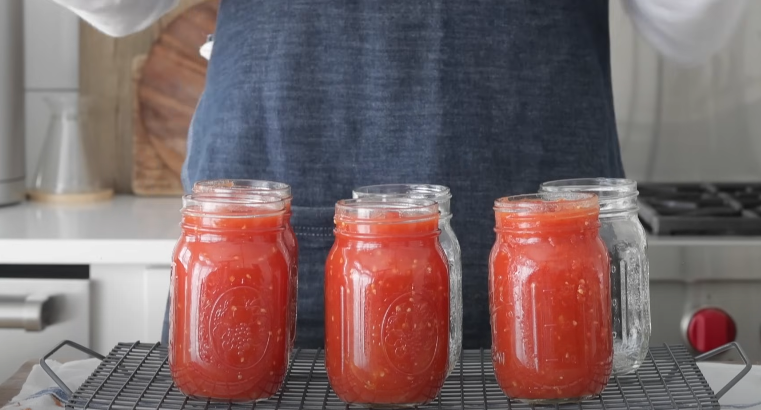
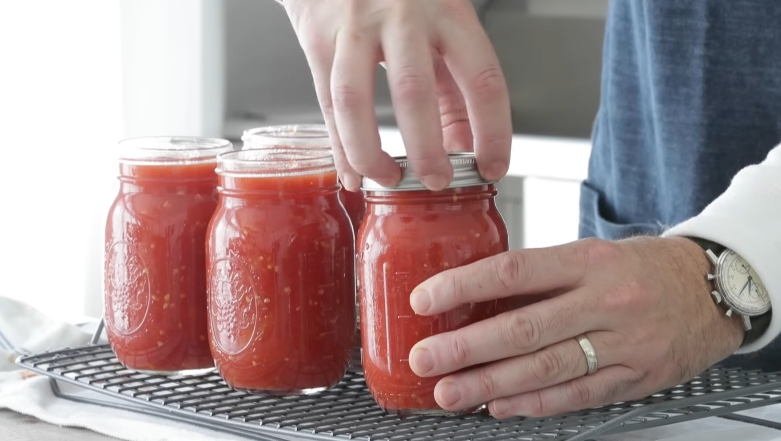
Wipe rims with a clean towel, place lids on, and screw bands until fingertip tight (not over-tightened).
Step 7: Process the Jars
- Place jars in your boiling water bath.
- Make sure water covers them by at least 1 inch.
- Process for 40 minutes (pints) or 45 minutes (quarts), adjusting for altitude.
Step 8: Cool and Store
Remove jars with a lifter, place on a towel, and let them sit undisturbed for 12–24 hours. Check seals (the lids should be concave and not pop when pressed). Store in a cool, dark place for up to a year.
Opening your first properly sealed jar feels like winning a small victory against time.
Safety Tips You Can’t Ignore
I’d be a bad friend if I didn’t emphasize this: safety is everything in canning. Messing up can literally make you sick.
- Always use tested recipes from USDA, Ball, or university extensions.
- Don’t wing the acidification step.
- Throw out any jar that didn’t seal properly. No exceptions.
- Look for signs of spoilage before using (cloudy liquid, bulging lid, weird smell).
Once you’ve got safety nailed down, the rest is just practice.
Common Mistakes Beginners Make
Trust me, I’ve made every one of these:
- Overfilling jars: Leaves no room for expansion, causing leaks.
- Forgetting to wipe rims: Can prevent proper sealing.
- Tightening bands too much: Air can’t escape, which ruins the seal.
- Skipping lemon juice: This is the #1 mistake I see, and it’s a dangerous one.
Mistakes are part of learning, but knowing these ahead of time saves you some heartbreak.
Flavor Variations You’ll Love
Once you’ve got the basics, you can start experimenting.
- Roasted tomatoes: Roast them first for a smoky, caramelized flavor.
- Garlic & herbs: Add a clove of garlic and a sprig of basil to each jar.
- Spicy kick: Drop in a sliced jalapeño for fire-roasted style.
Just remember: don’t alter the acid levels or canning times. Safety first, flavor second.
How Long Do Canned Tomatoes Last?
Properly canned tomatoes can last 12–18 months in a cool, dark pantry. But let’s be honest—if you’re a tomato lover, they won’t last that long. I usually go through mine in about 6–8 months because I can’t resist using them in soups, sauces, and stews.
Final Thoughts: Why You’ll Fall in Love with Canning
Canning tomatoes is more than a kitchen project—it’s a connection to tradition, to self-sufficiency, and to the simple joy of knowing exactly what’s in your food. The process may seem intimidating at first, but once you taste your own tomatoes in the dead of winter, you’ll understand why people swear by it.
It’s about more than food. It’s about bottling up sunshine, saving money, and savoring flavors when you need them most.


