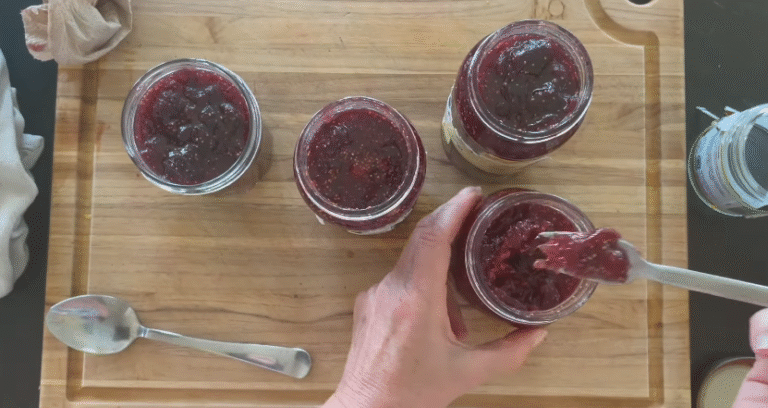
There’s something magical about opening a jar of homemade peach jam in the middle of winter. It’s like bottling up sunshine, wrapping it in sweetness, and spreading it on toast when the world outside feels gray. Making jam at home isn’t just about preserving fruit—it’s about preserving memories. I still remember standing by the stove with my grandmother, watching the peaches bubble down into thick golden syrup, her wooden spoon swirling slowly while she whispered secrets of jam-making that no cookbook could ever tell you.
This guide is your step-by-step map to making perfect peach jam—the kind that makes you close your eyes after the first taste because it’s that good. It’s not complicated, but it does require care, patience, and a willingness to enjoy the process as much as the product. Let’s get into the details, because by the end of this, you’ll be ready to make a batch that will earn you praise, hugs, and maybe even requests for more jars.
Why Peach Jam Is Worth Making at Home
Peach jam from the store can’t compete with the homemade version. Store-bought jars are often loaded with extra preservatives, unnecessary thickeners, or lack the rich fruity depth of freshly picked peaches. When you make jam at home, you’re in control of everything—the sweetness, the texture, and the flavor.
Fresh peaches are also one of the most nutrient-rich fruits around. According to the USDA, a medium peach contains:
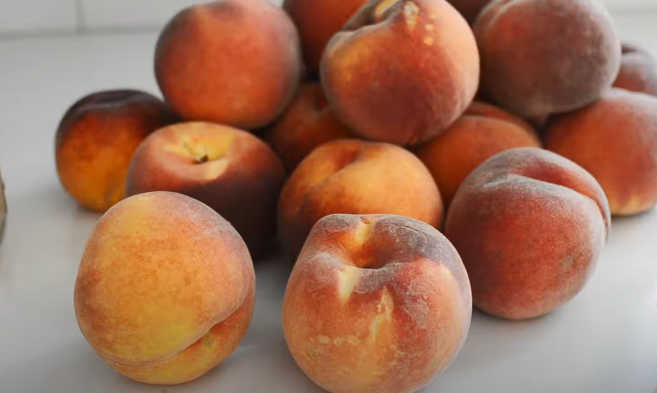
- About 60 calories
- 2 grams of fiber
- 10% of your daily Vitamin C needs
- Potassium, Vitamin A, and antioxidants
By turning them into jam, you preserve those vitamins and flavors for months. It’s a natural way of extending the peach season and giving yourself a homemade pantry staple.
And beyond nutrition, homemade jam is a little piece of love you can give others. A jar of peach jam makes the perfect gift—thoughtful, sweet, and personal. You’re literally sharing something you crafted by hand.
Choosing the Right Peaches
This might be the most important part of the entire recipe. The quality of your jam depends entirely on the quality of your fruit. Here’s the insider scoop:
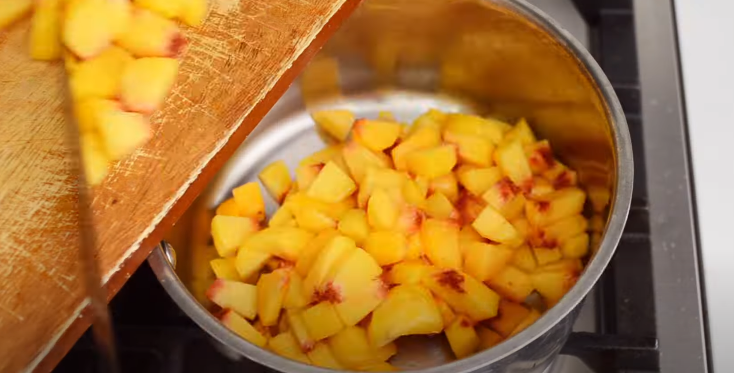
- Ripe but firm peaches: You want peaches that yield slightly when pressed but aren’t mushy. Overripe peaches can make your jam watery.
- Freestone vs. Clingstone: Freestone peaches are easier to pit, while clingstone peaches are sweeter. Either works, but freestone will save you some frustration.
- Seasonality: The peak peach season in the U.S. runs from May through September, with July and August being the golden months. Off-season peaches lack the natural sugars that make jam shine.
- Organic if possible: Since you’ll be cooking down the skins (unless you peel them), avoiding pesticides is a good idea.
I’ll tell you a little secret—when I was younger, I once tried making jam with supermarket peaches in December. They looked fine but tasted like cardboard. No amount of sugar or lemon juice could fix it. Moral of the story: start with great peaches, or you’ll end with mediocre jam.
Ingredients You’ll Need
Here’s the basic ingredient list for a classic batch of peach jam (makes about 6–7 half-pint jars):
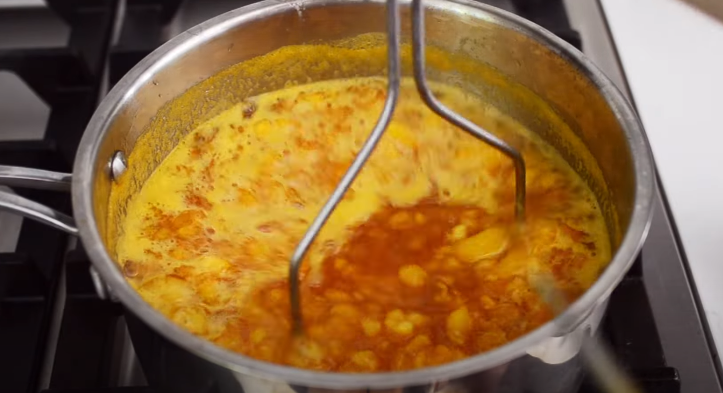
- 4 pounds of ripe peaches (about 12 large peaches)
- 4 cups of granulated sugar (yes, it’s a lot, but sugar is both a sweetener and preservative)
- 2 tablespoons lemon juice (balances the sweetness and helps jam set)
- 1 packet pectin (optional) – depends on the method you use (more on this below)
That’s it. Just four simple ingredients. Some recipes add spices like cinnamon or ginger, but for a perfect peach jam, I recommend keeping it pure and peach-focused.
Prepping the Peaches
This step can feel a little tedious, but once you know the tricks, it’s actually kind of fun.
- Blanching and Peeling: Drop your peaches into boiling water for 30–60 seconds, then plunge them into ice water. The skins will slip off like magic.
- Pitting: Slice the peach in half, twist, and pop out the pit. For clingstone varieties, this might require a little knife work.
- Chopping: Dice the peaches into small chunks. Some people prefer pureed jam, but I like chunky jam—bites of fruit in the spread add texture and personality.
Pro tip: Don’t throw away the peels right away. You can boil them in water with a little sugar to make a quick peach syrup for pancakes.
The Science of Jam-Making
Before we jump into cooking, let’s talk about what’s actually happening in your pot. Jam-making is part science, part art:
- Sugar: Besides sweetening, sugar binds with water molecules, preventing spoilage. That’s why jam lasts so long without refrigeration.
- Pectin: This natural fiber (found in fruits) creates the gel-like texture. Peaches are relatively low in pectin, which is why recipes often call for added pectin.
- Acid (lemon juice): Acid helps pectin set and brightens the fruit’s flavor. Without it, you’d have peach syrup instead of peach jam.
Understanding these three elements—sugar, pectin, and acid—is the difference between a runny mess and jam that spreads beautifully on toast.
Step-by-Step Recipe: Making Perfect Peach Jam
Step 1: Sterilize Your Jars
You’ll need canning jars, lids, and bands. Wash them well, then either boil them in water for 10 minutes or run them through the dishwasher. Sterilizing prevents bacteria and mold.
Step 2: Cook the Peaches
Place your chopped peaches in a large pot. Add the lemon juice and mash the fruit slightly with a potato masher. Heat slowly until the peaches release their juices.
Step 3: Add Sugar and Cook Down
Pour in the sugar and stir until dissolved. Bring the mixture to a rolling boil, stirring frequently. This is where the jam begins to thicken. Skim off any foam that rises—it doesn’t affect taste, but it looks better without it.
Step 4: Add Pectin (Optional)
If you’re using store-bought pectin, follow the packet instructions. If you’re going the natural route, just cook longer until the jam thickens naturally.
Step 5: Test for Doneness
Here’s a trick my grandmother swore by: place a spoonful of jam on a chilled plate and let it sit for a minute. If it wrinkles when you push it with your finger, it’s ready. If not, keep cooking.
Step 6: Fill the Jars
Ladle the hot jam into sterilized jars, leaving about ¼ inch of headspace. Wipe the rims clean, place the lids on, and screw the bands until finger-tight.
Step 7: Process the Jars
Place the filled jars into a boiling water bath for 10 minutes. This seals them and ensures they’re shelf-stable. When you hear that satisfying pop as they cool, you know the seal worked.
Variations of Peach Jam
One of the joys of homemade jam is experimenting. Once you master the basic recipe, try these fun twists:
- Peach-Vanilla Jam: Add a split vanilla bean while cooking.
- Peach-Ginger Jam: A teaspoon of grated fresh ginger adds warmth.
- Peach-Bourbon Jam: A splash of bourbon at the end makes a grown-up version perfect for glazing meats.
- Low-Sugar Peach Jam: Use a reduced-sugar pectin for a lighter option.
Common Mistakes and How to Avoid Them
- Runny Jam: Usually from undercooking or not enough pectin. Cook longer and always test with the chilled plate method.
- Too Sweet: Remember, jam is naturally sweet, but you can adjust sugar slightly. Just don’t cut it too much or it won’t set.
- Mold on Top: Caused by improper sealing. Always process jars in a water bath.
- Jam Too Thick: Overcooking can make jam hard. If this happens, stir in a bit of hot water before using.
Storing and Shelf Life
Properly sealed jars of peach jam last up to 12 months in a cool, dark place. Once opened, refrigerate and use within 3–4 weeks.
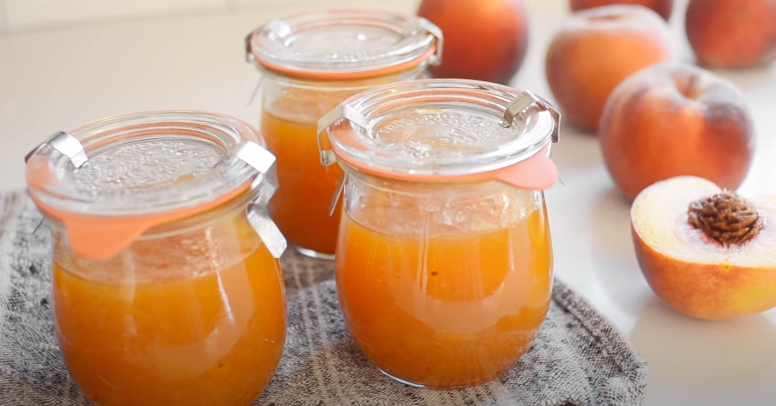
Fun fact: I once found a jar of my grandmother’s jam in the pantry two years after she made it. It still tasted incredible—though technically, I wouldn’t recommend pushing it that far.
Fun Ways to Use Peach Jam
Sure, you can spread it on toast—but don’t stop there. Peach jam can transform ordinary dishes:
- Swirl into yogurt or oatmeal
- Use as a glaze for grilled chicken or pork
- Dollop on cheesecake or ice cream
- Spread inside a grilled cheese sandwich for a sweet twist
- Mix into cocktails (peach bellini with a spoon of jam = instant upgrade)
Jam isn’t just a breakfast food—it’s a versatile ingredient waiting to be played with.
Healthier Jam Alternatives
If you’re worried about sugar, you can make freezer jam with less sugar. Freezer jams don’t require processing and taste fresher, though they need to be stored in the refrigerator or freezer. You can also experiment with natural sweeteners like honey or maple syrup, but remember: sugar is what preserves jam, so lower-sugar versions won’t last as long.
Why Homemade Jam Feels Special
Making jam is more than cooking—it’s storytelling. Every batch carries the memory of the peaches you used, the season you made it, and the people you shared it with. I’ve given jars of peach jam as Christmas gifts, as thank-you gestures, and once, as a peace offering after a fight with a friend. Every single time, the reaction was the same: a smile followed by, “Did you really make this yourself?”
Final Thoughts
Learning how to make perfect peach jam at home is one of those skills that pays you back endlessly. You get flavor, savings, and the satisfaction of creating something from scratch. With just peaches, sugar, and a little patience, you can turn a fleeting summer fruit into something you’ll enjoy all year long.
If you’ve never tried making jam, I promise—it’s not as intimidating as it looks. Once you hear the pop of your jars sealing, you’ll feel like you’ve joined a secret club of home preservers. And when you taste your first spoonful, you’ll wonder why you didn’t start sooner.
Now grab some ripe peaches, roll up your sleeves, and let’s turn those golden orbs into jars of sunshine.

